

Photography: Tulips (Wordless Wednesday)
Flowers, Life, Photography, Photos, Purple, Travels, Vacation, Wordless Wednesday
Photography: Paris (Wordless Wednesday)
Europe, Paris, Photography, Photos, Travels, Vacation, Wordless Wednesday
Recipes: Chile con Queso (Chihuahua Style)
Cheese, Cooking, Food, Life, Mexican Mondays, Mexico, Recipes, Uncategorized
One of my mom’s favorite things to eat is chile con queso. This dish shouldn’t be confused with the every popular chile con queso dip that you find at many Tex-Mex restaurants. It is not drowned in a sea of Velveeta by any means but it is delicious in its own right. Growing up I would spend my summers in Chihuahua, Mexico where I ate more than my share of chile con queso. On any given day I could go to any of my aunt’s houses and often than none they would all be making this dish. Seriously, my people love this dish!
Now that my parents live with us (more on that later) I often find myself eating this for breakfast, lunch, or dinner. This dish is so versatile because it can be served with different things. You can have it with eggs for breakfast, you can have it as a burrito for lunch, or you can add steak in it for dinner. I hope you are able to try and enjoy this dish as much as we do.
Chile con Queso (Chihuahua Style)
The main ingredient you need for this dish are Anaheim chiles. Once you wash them put the chiles directly on a cast iron skillet and roast them over medium high heat. Be careful not to burn them too much otherwise you will find yourself coughing up a lung and rushing towards the fire alarms like we often do.

Once they are completely roasted and the peel begins to loosen take them off the heat. Caution they will be extremely hot! Please try not to handle them with your bare hands.
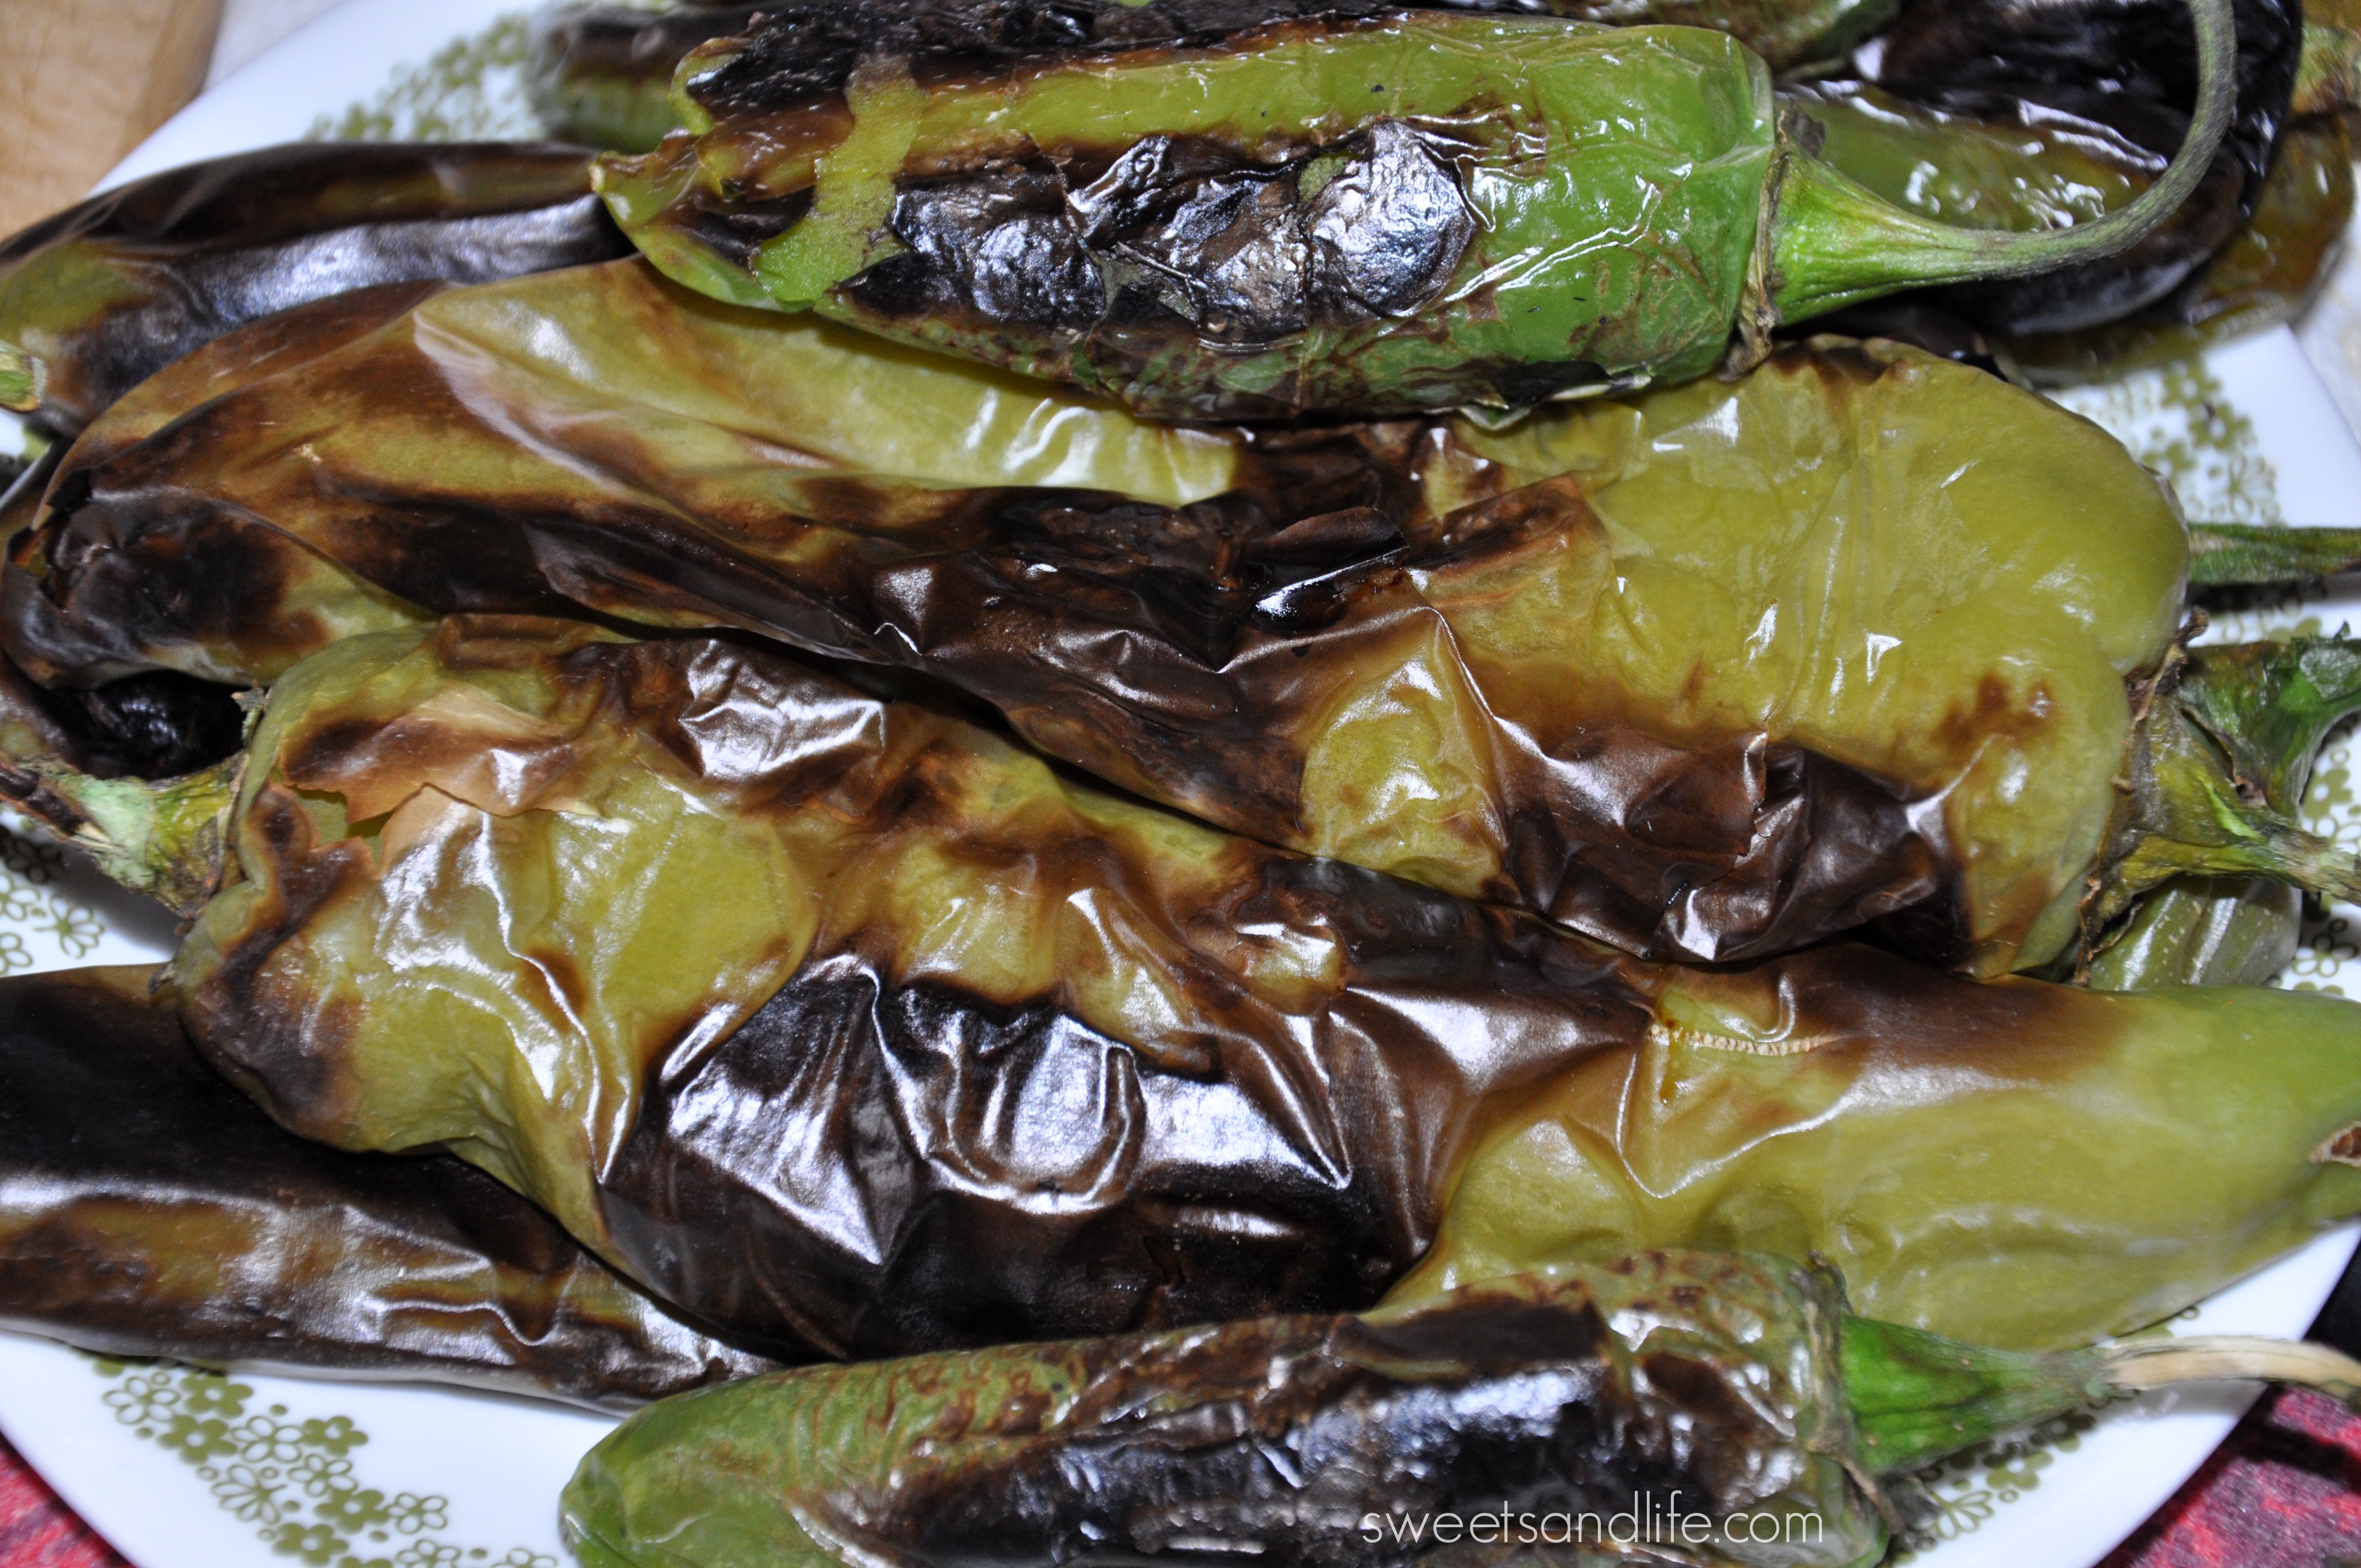
Let them cool for a few minutes before peeling them because like I said before they will be extremely hot. By the way don’t scratch your eyes or any other part of your face because they might be a tad spicy. With your hands careful take off the peel and throw that part away along with the stems.

Once the chiles are completely clean go ahead and give them a rough chop. We usually leave the seeds in but if you don’t want it too spicy go ahead and take some off.

Oops, I just realized I forgot to tell you to chop your tomato and onion so at this point go ahead and rough chop them now. When you are done with your crazy rough chop add them to the chile.
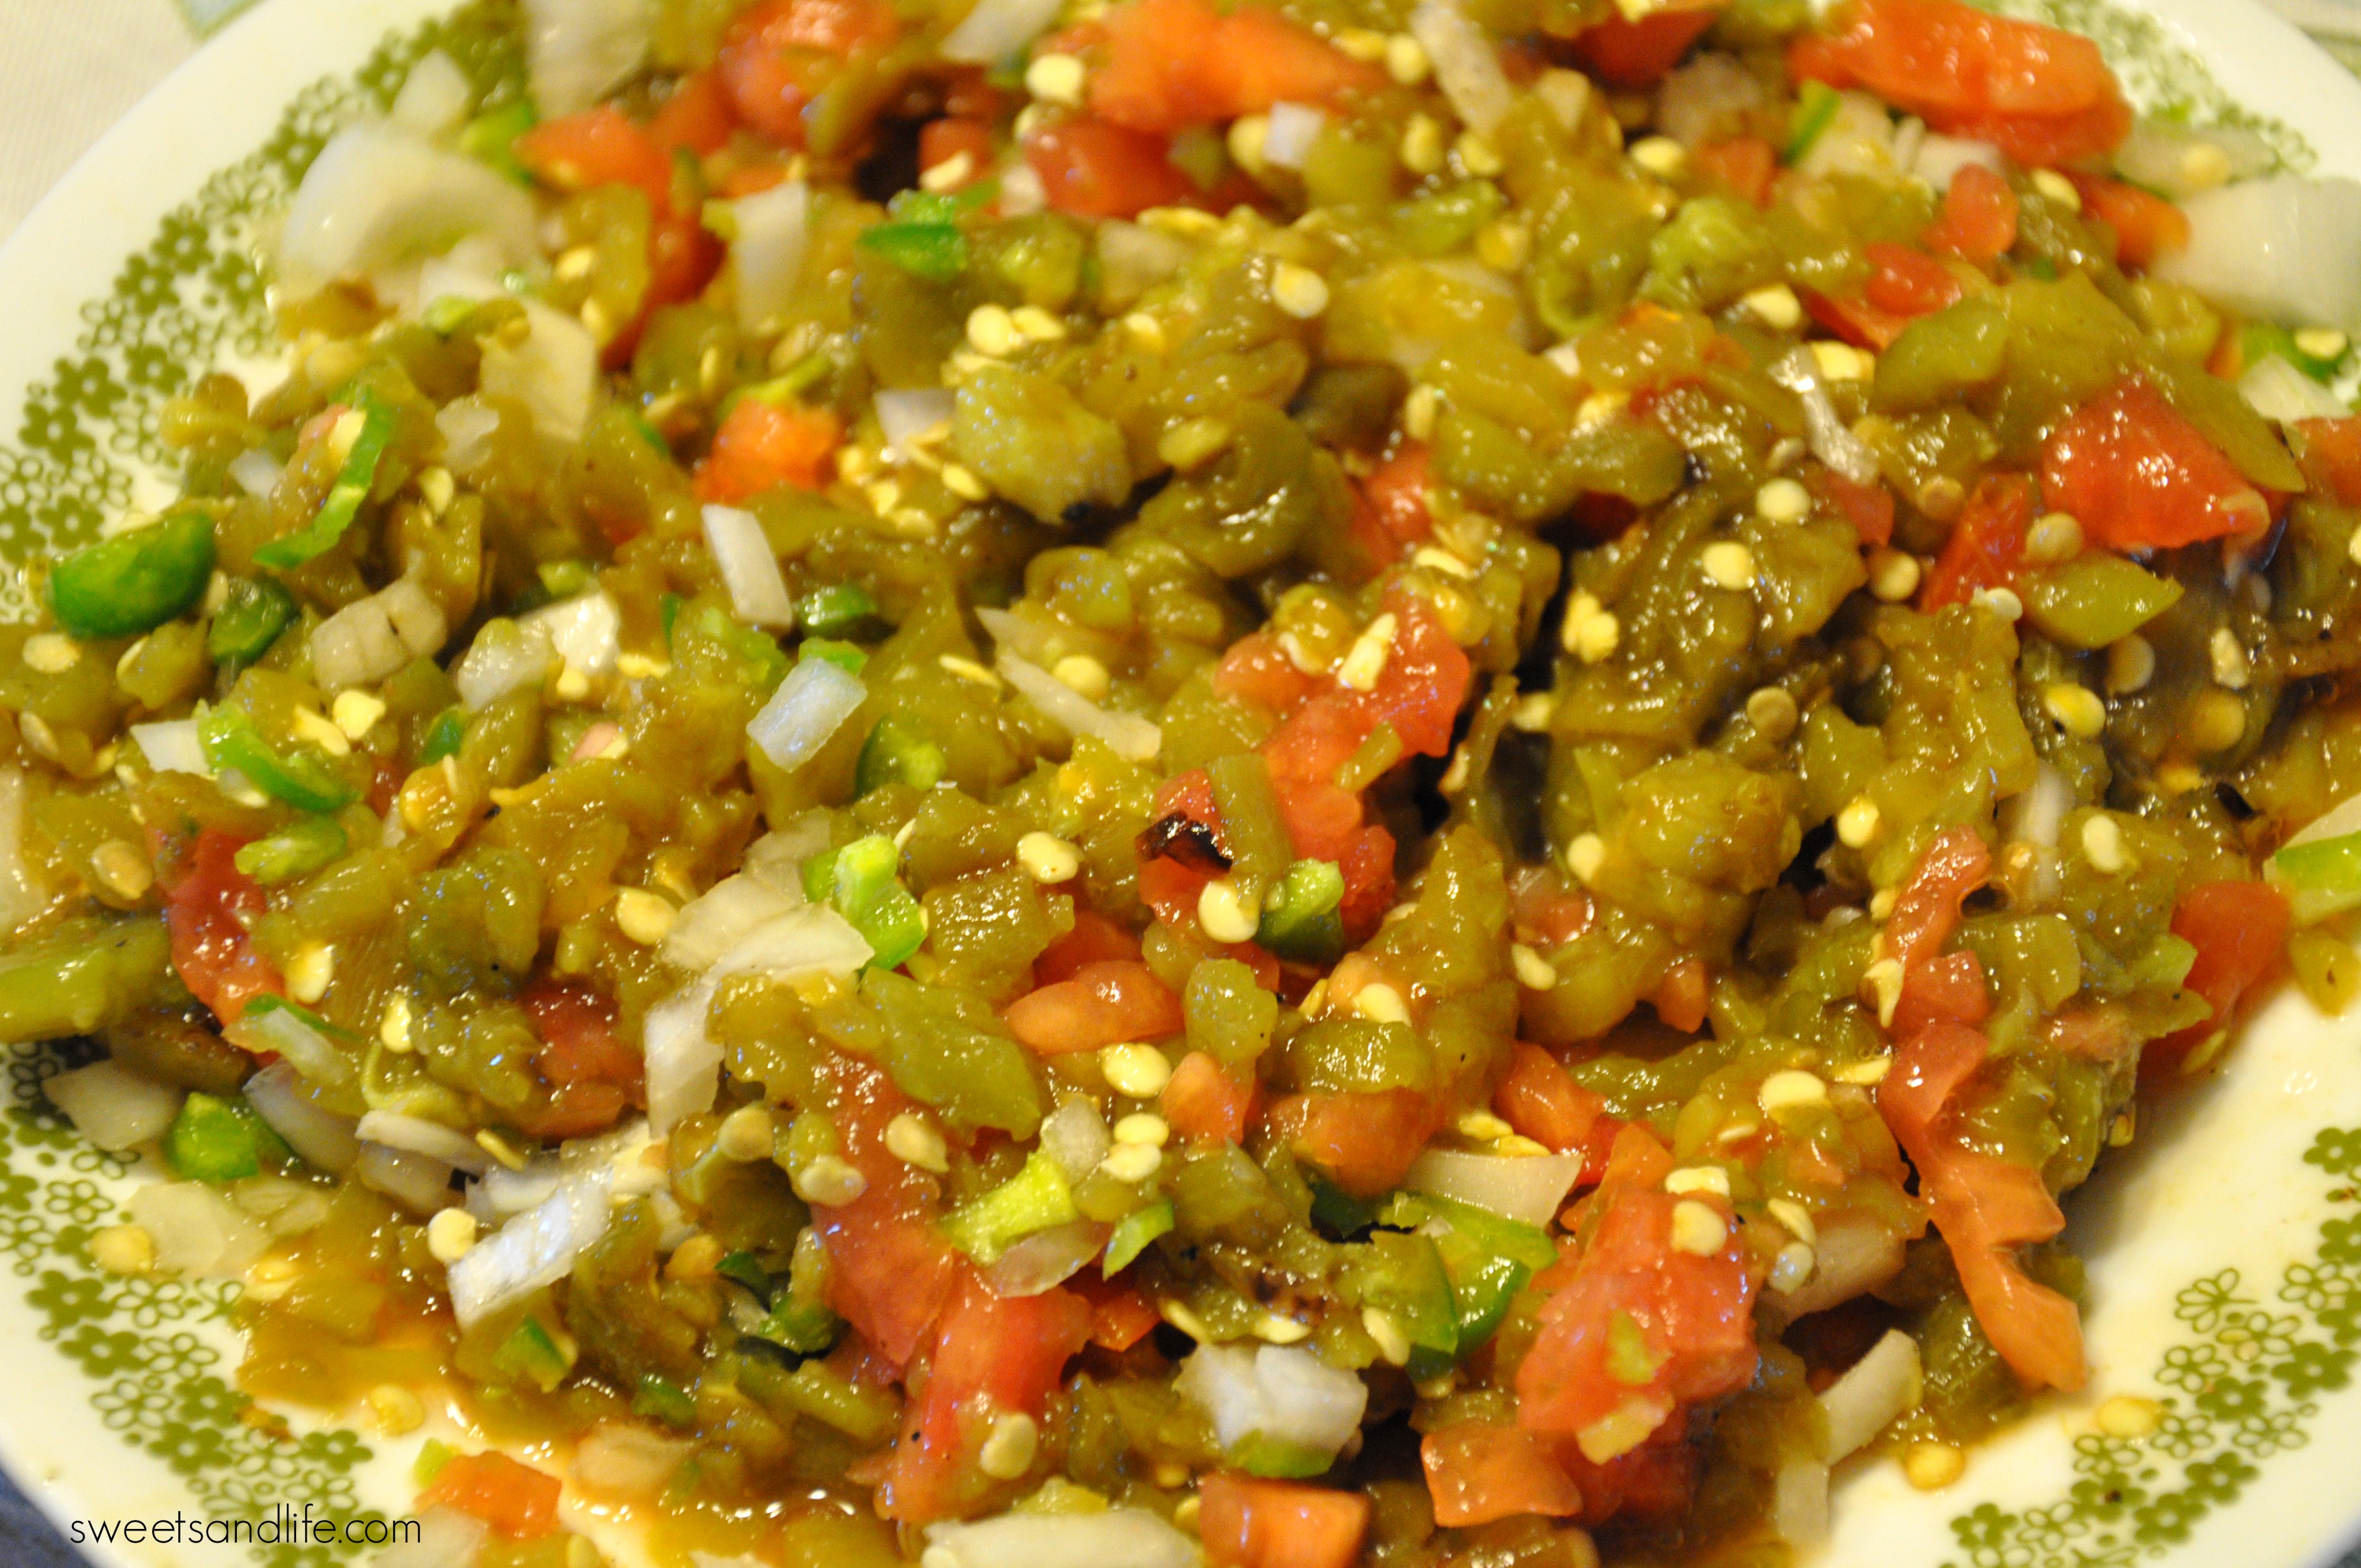
Heat the oil in a frying pan over a medium high heat. Once the oil is hot add your mixture of chile, onion, and tomato in the pan. Stir it a few times so it doesn’t stick to the pan. It shouldn’t take more than 5 minutes for the onions to become translucent.

Pour the water into the frying pan very carefully and let it boil for a tad. Add salt and pepper to taste.

This is my favorite part because this is where the cheese marries this delicious concoction. You can add whatever type of white melty cheese you prefer but we usually use either mozzarella, monterey jack, or asadero. Our favorite of the three being asadero directly from Chihuahua. Let the cheese do its magic and melt into the chile con queso goodness. Serve it with some beans, rice, and tortillas. Enjoy!

Ingredients
- 8 to 10 Anaheim Chiles
- 1 tomato
- 1/2 white onion
- A dash of salt
- A tad of pepper
- 2 tbsp of vegetable oil
- 1/2 cup of water
- 1 cup of white cheese (the kind that melts)
Directions
Roast the Anaheim chiles over medium high heat. Once completely roasted take off the heat and set aside for a few minutes. Peel the skin off the chiles. Pull the stem off and rough chop the chiles. Throw away the stems and peels. Dice your tomato and onion. Mix in tomato and onion with the chile. Heat oil in a frying pan. Put the chile mixture in the frying pan carefully and heat for about 5 minutes. One the onion is translucent pour water into the chile mixture. Boil for a few minutes. Add the cheese. Let the cheese melt. Serve alongside tortillas, beans, and rice. Enjoy!
Note
This dish can be made into a burrito or served alongside eggs for breakfast.
Photography: Sleeping Beauty’s Castle at Night (Wordless Wednesdays)
Disney, Disneyland, Life, Orange County, Photography, Photos, Southern California, Wordless Wednesday
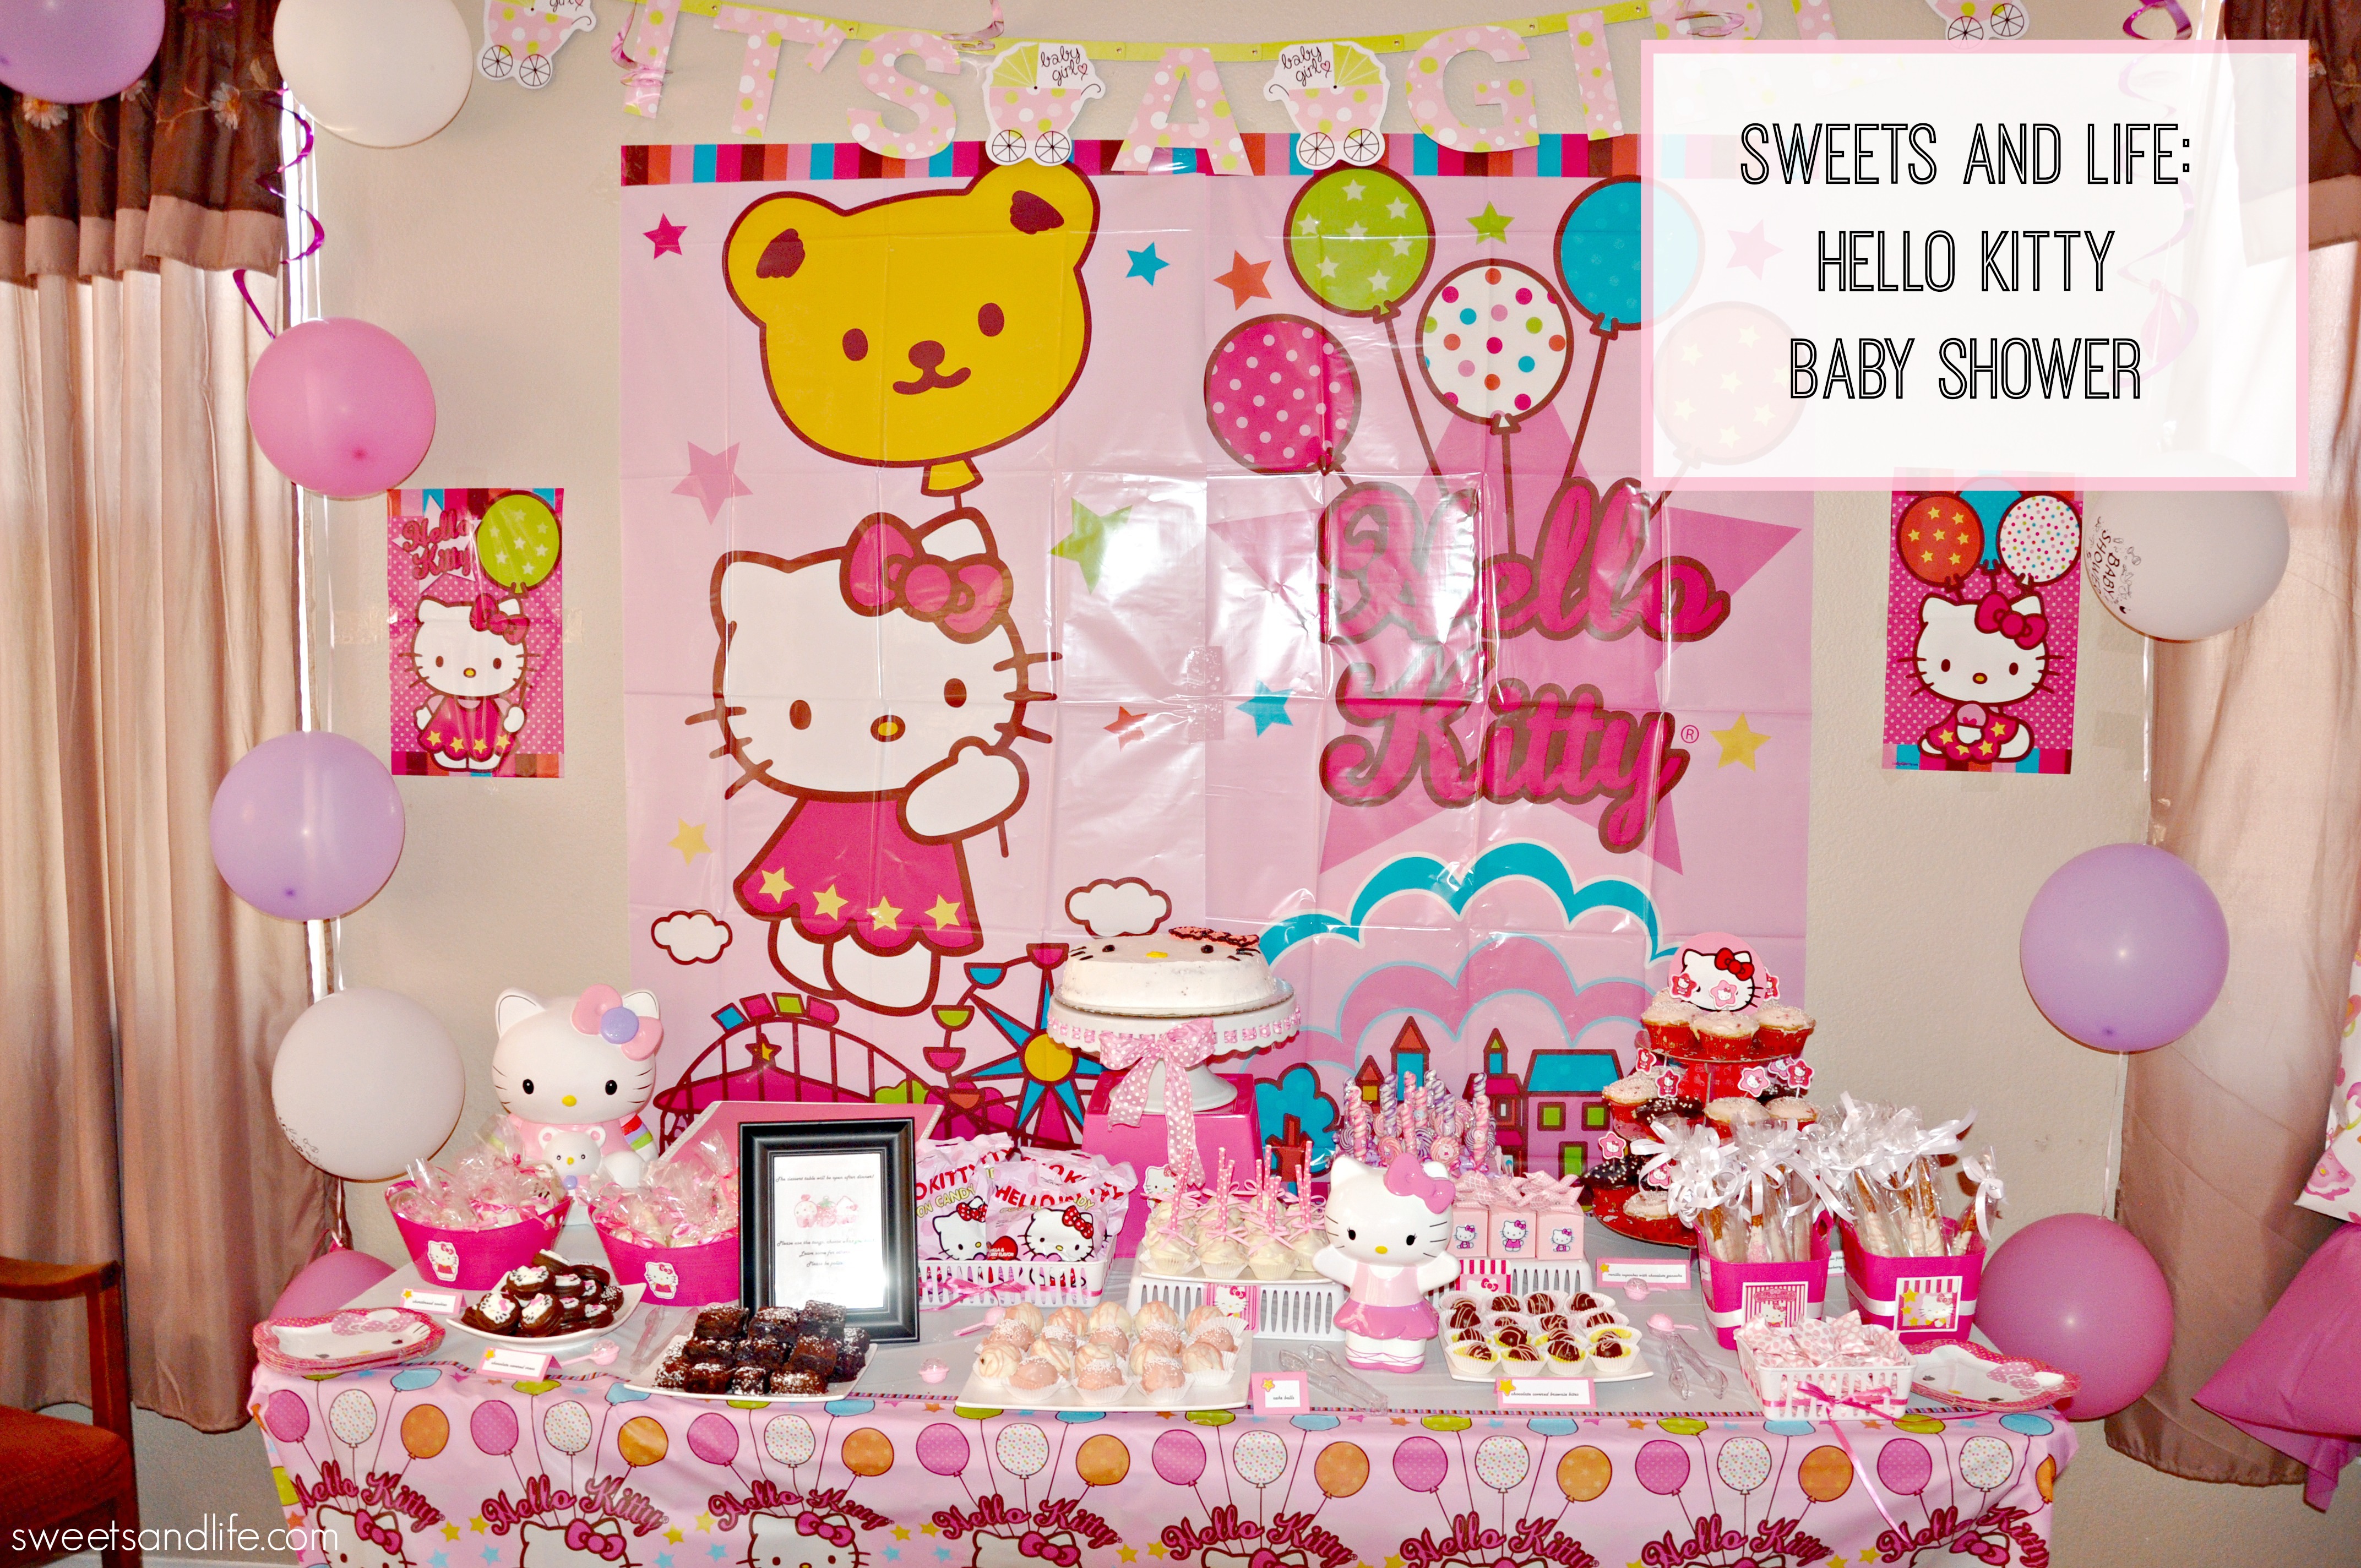
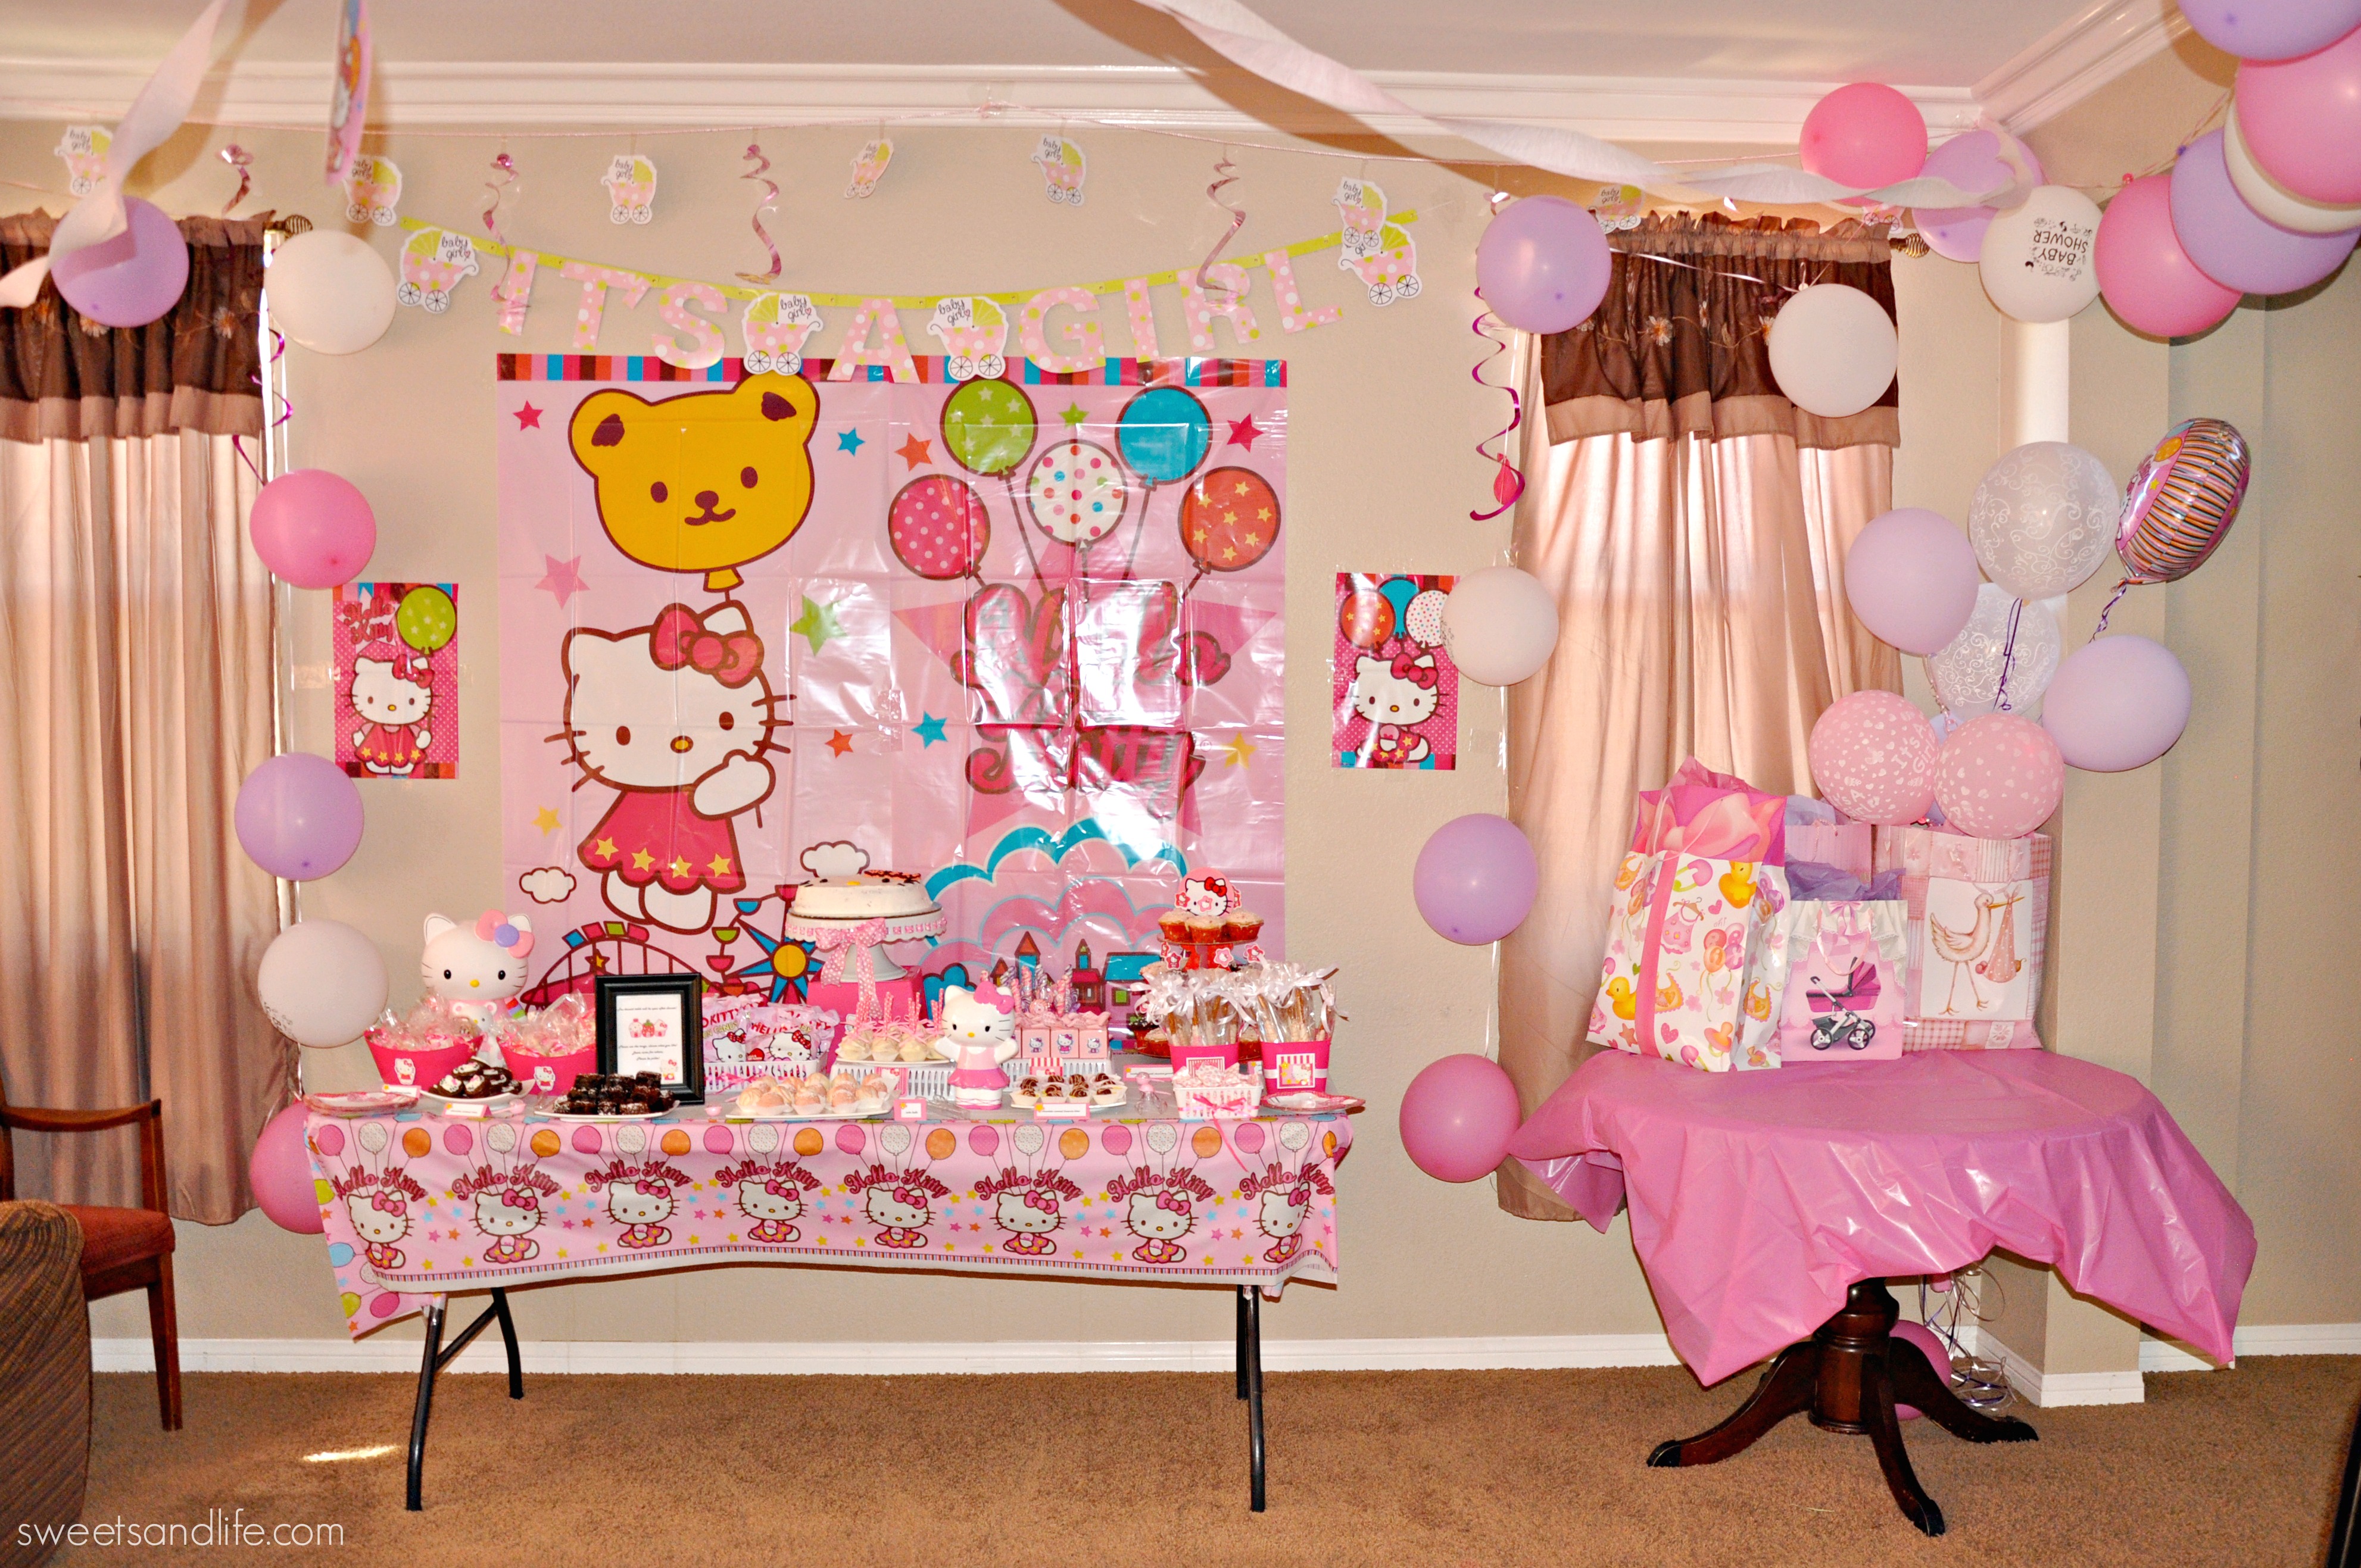
Life: A Hello Kitty Baby Shower (dessert table)
Baby, Baby shower, Baking, Buttercream, cake, Cake Balls, Cake Pops, Cakes, Dessert Table, DIY, Life, Parties, Pinterest, SweetsA few months ago my half-sister approached me and asked me to help her with her son and daughter-in-law’s baby shower. If you have been following my blog you know that she had me by the time she announced that it would be a pink Hello Kitty baby shower. I helped her out by doing the dessert table for her.
I began a baking a week before the baby shower because I’ve learned from previous parties that sugar cookies work better with royal icing when they are completely dry. I used Sugarbelle’s recipe for sugar cookies because I’ve always had good results with it.

Once completely dried I placed the cookies in cellophane bags and I added pink ribbon that I already had.

I worked on the Hello Kitty cake the day of the baby shower. I baked a Hershey’s chocolate cake and frosted it with a buttercream frosting. I use the Hello Kitty cake pan mold and I loved how the cake turned out.

My mom loves chocolate covered pretzels so I had to include those in the dessert table. I purchased the pink baskets at the Dollar Tree and the Hello Kitty in front of the baskets are actually stickers placed over cardstock.

Another must have item in any dessert table are chocolate covered Oreos which I love.

I made the same type of sign I did for my daughter’s 1st birthday dessert table.
The sign says:
The dessert table will be open after Dinner!
Please use the tongs, chose what you like!
Leave some for others, Please be polite!

Here’s the final dessert table. I baked brownies, cake pops, cake balls, brownie bites, and cupcakes. I used Billy Vanilla, Vanilla recipe for half of the cupcakes. My niece and sister decorated the background.

 I hope you guys enjoyed the dessert table I created for baby Natalie. I’m glad to say that last week my nephew and his wife had a healthy little girl.
DIY: Mickey and Minnie Mouse Gumball Machines
Birthdays, Disney, DIY, Life, Mickey Mouse, Minnie Mouse, Parties, Uncategorized
Update: Thanks for stopping by and checking out out the centerpieces I made for my daughter’s 1st birthday!
One of the cutest projects I did for my daughter’s 1st birthday party was the Mickey & Minnie Gumball Machines. I received so many compliments from this project and it was pretty easy to make. I followed Damaris’ directions on how to make these colorful centerpieces and they turned out super cute. For complete directions on how to make these please go HERE. Please enjoy the photos I took of the process.

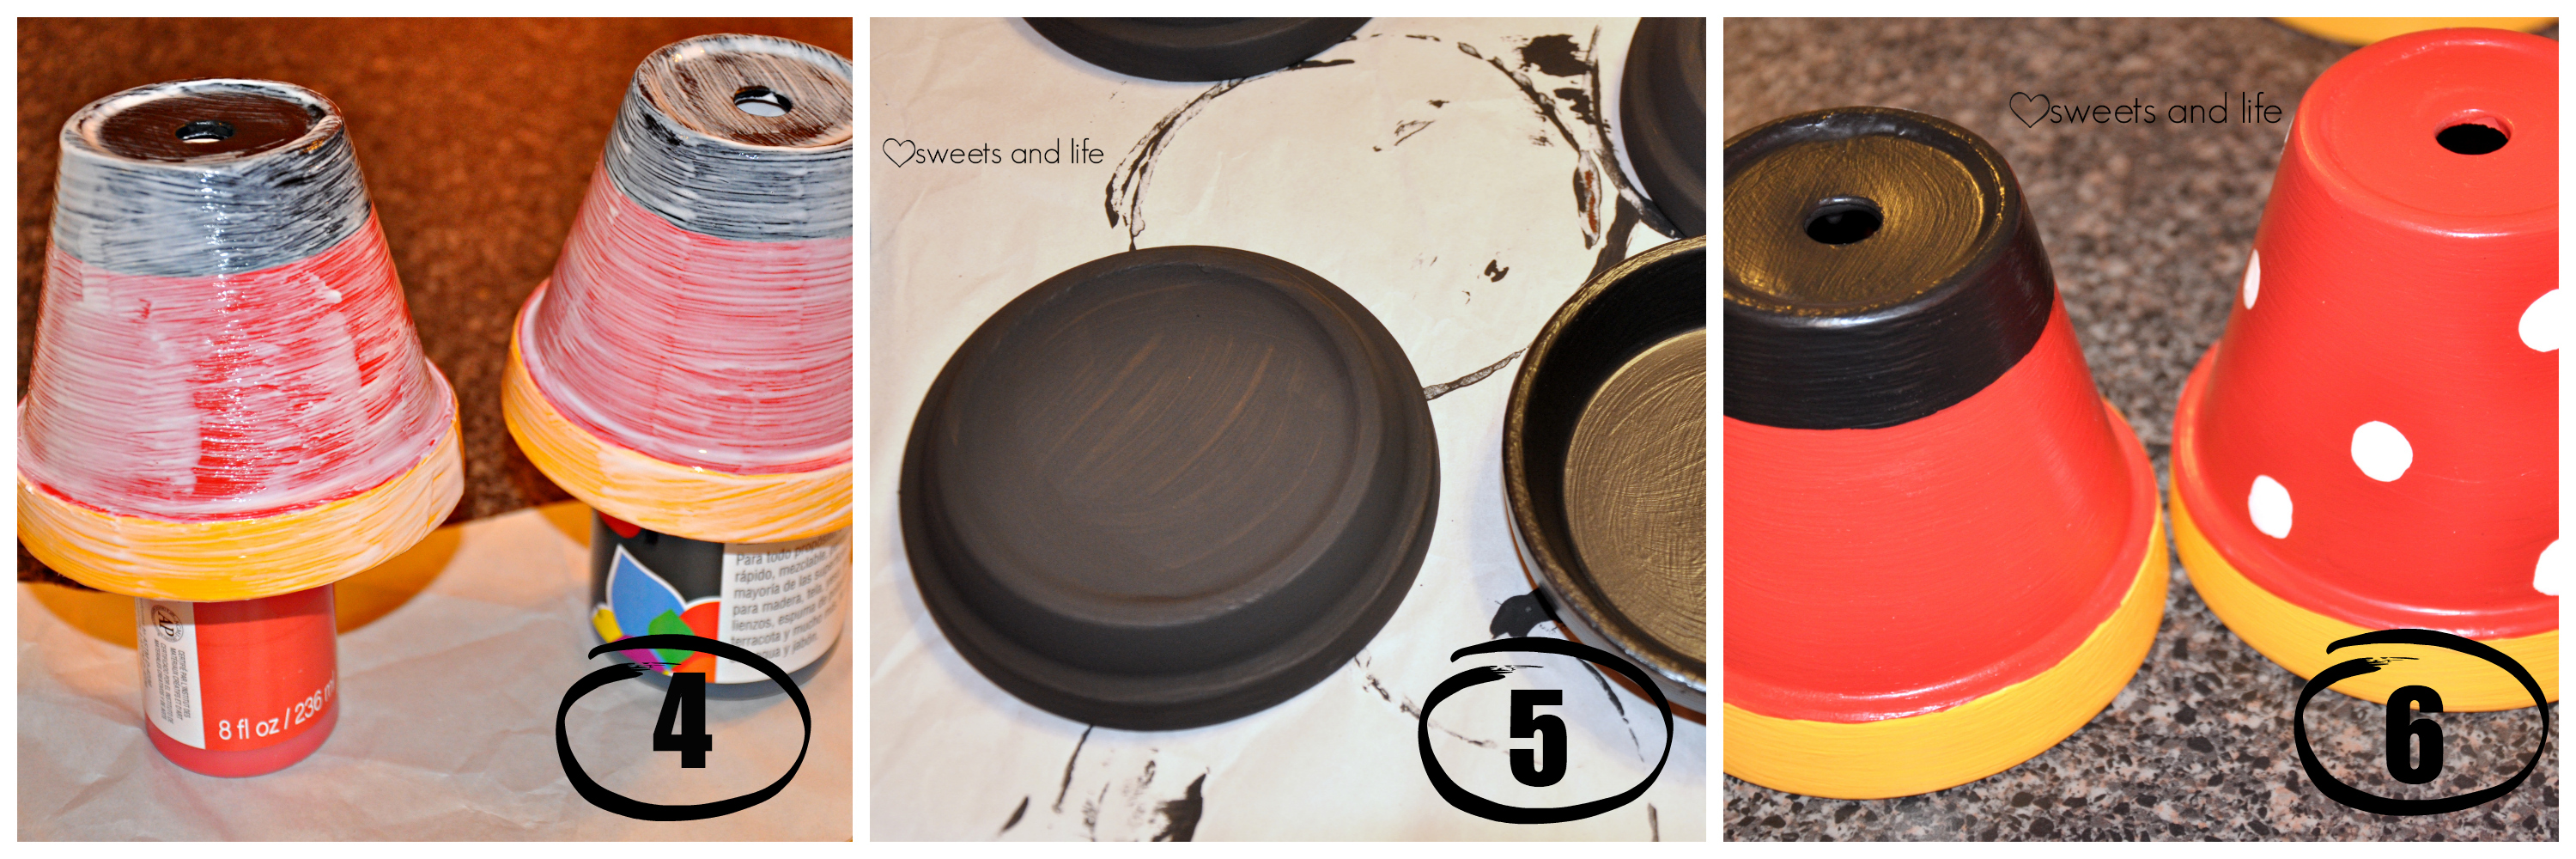


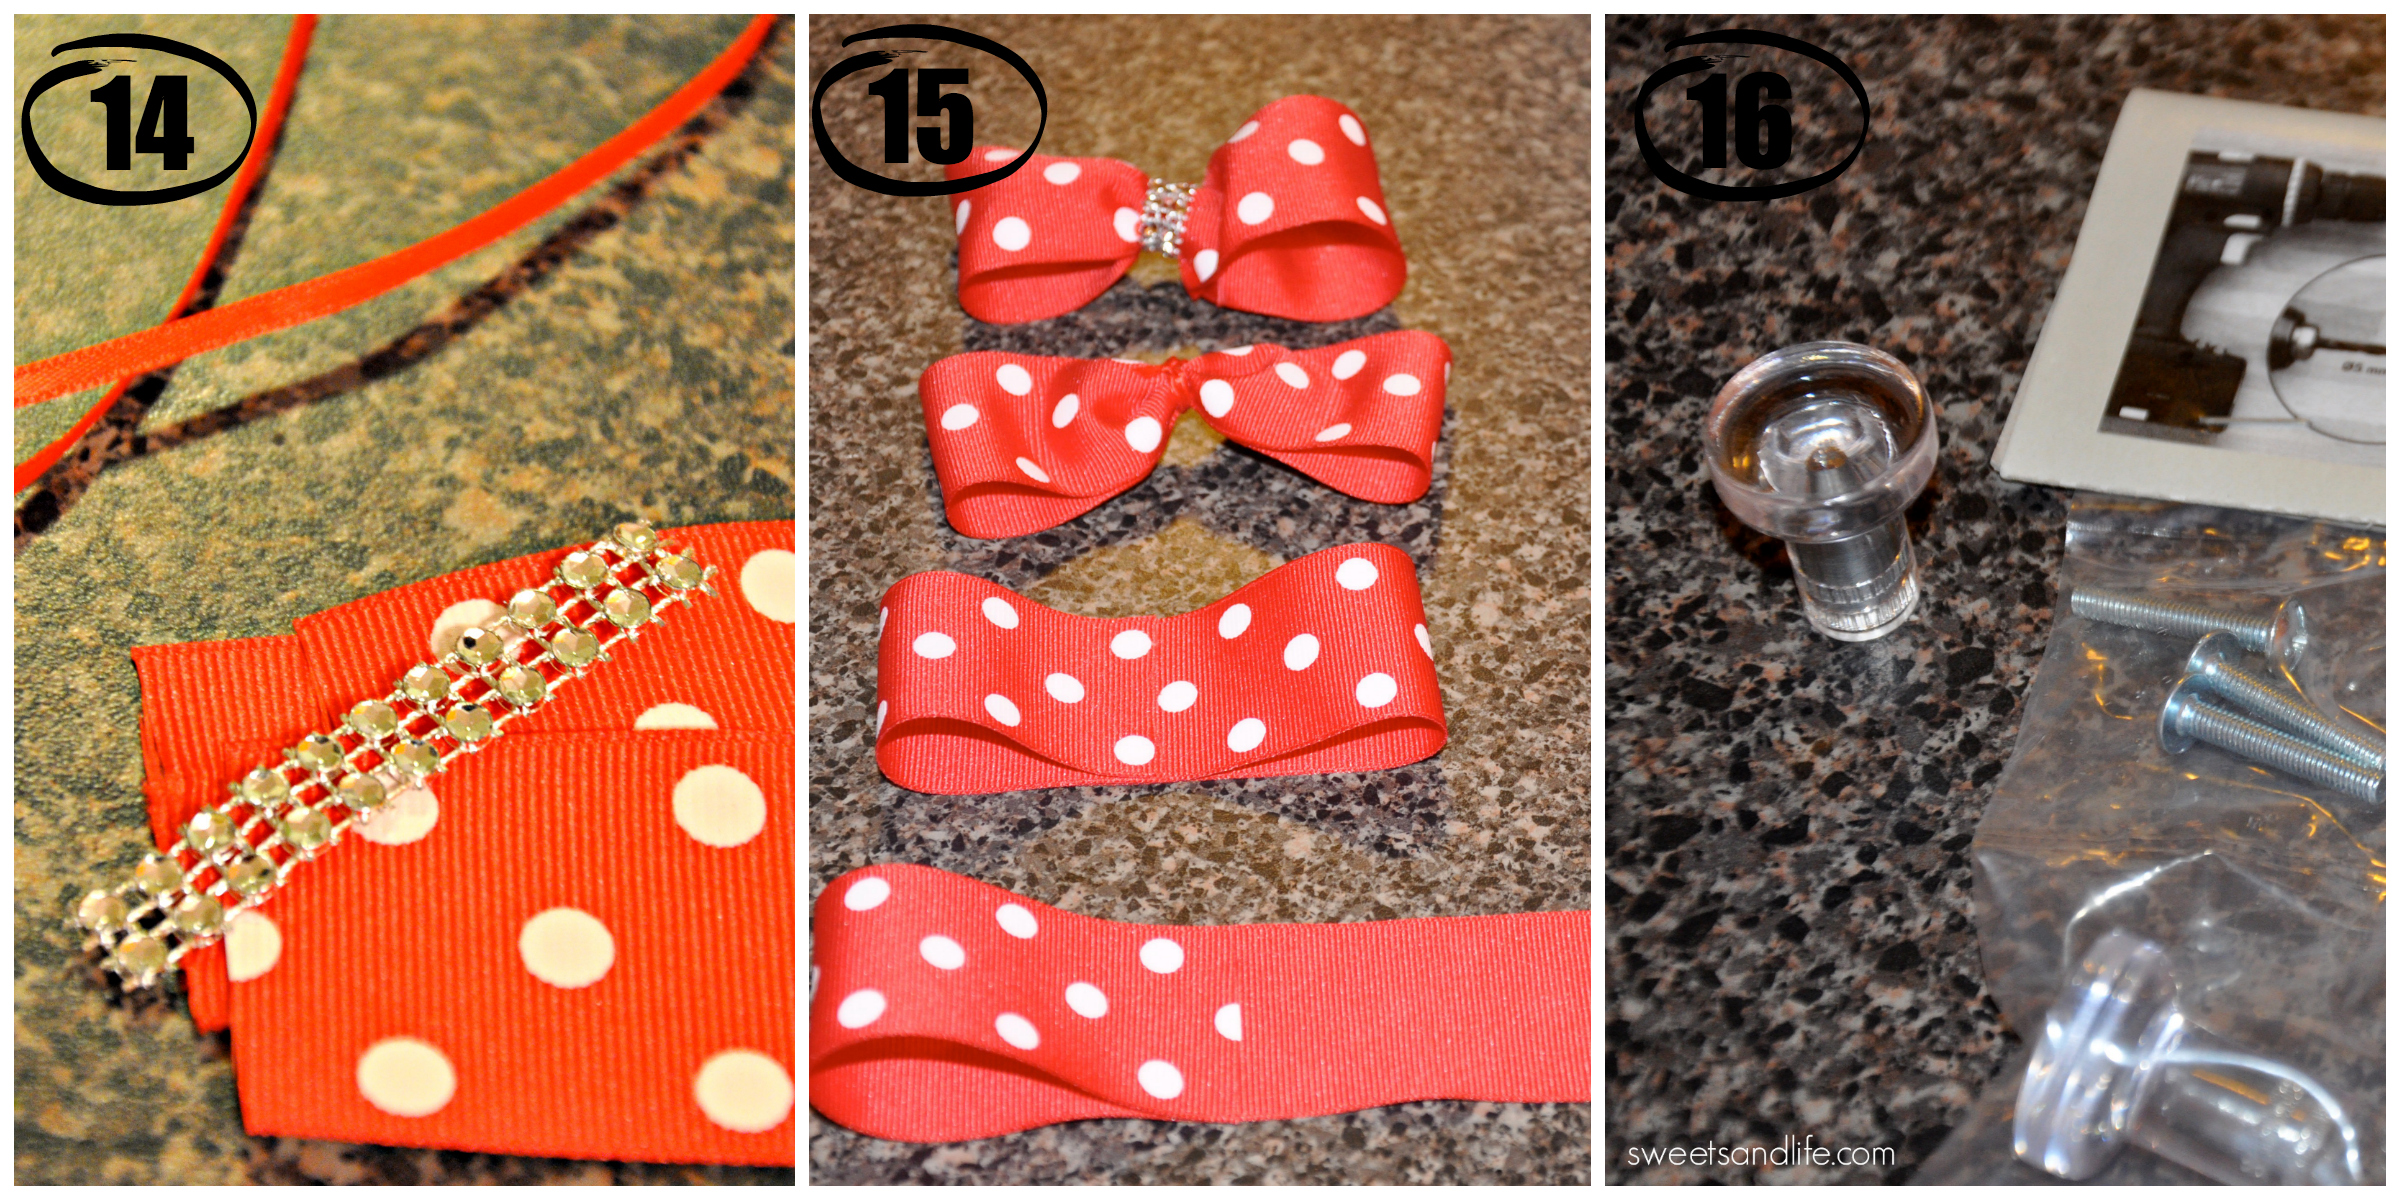

 Tips:
Tips:
I filled the gumball machines with candy from the Dollar Tree.
This project is easy but be aware that it requires a lot of time to dry.
Be prepared to get glitter everywhere!
White buttons- Michael’s.
Door Knobs for lids- Ikea.
Minnie Bow- Fabric Barn.
Fish bowls- The Dollar Tree
The remaining supplies – Moskatels
Here’s a few answers to the questions I have been asked:
- I used Mod Podge to seal the paint.
- The bowls are 6 inches you know the kind you can find at any dollar store.
- I’m not sure how much I spent on the materials but most of the supplies can now be fond at any dollar store.
- I glued the bowls to the pot with E6000 glue.
Feel free to ask me any questions. I will add the answers on here. Thank you once again for stopping by.
Photography: Yatziry under the pecan trees (Wordless Wednesdays)
Kids, Mexico, Photography, Photos, Travels, Uncategorized, Vacation, Wordless Wednesday
Life: Taliesin, the Frank Lloyd Wright School of Architecture
101 in 10001, Day Zero Project, Family, Fun, Life, Living, Photography, Photos, Summer, Travels, VacationLast month I was fortunate enough to finally be able to cross number 90 off my Day Zero Project. The Hubby, my little Buttercup and I got a private tour of Taliesin West, the Frank Lloyd Wright’s, School of Architecture. I’ve been wanting to go to Taliesin West since my cousin began attending school there. I was upset that I was unable to attend his graduation because I was too far along with my pregnancy. We had a few other opportunities to go to events there but due to different circumstances we didn’t go. The stars finally aligned and my cousin was able to give us a private tour of his alma mater. I didn’t know much about Frank Lloyd Wright before my cousin started attending the school there but now I’m fascinated by him. If you have ever been remotely interested in Frank Lloyd Wright and find yourself near Scottsdale, Arizona I suggest you take a tour. They offer different types of tours depending on what you want to see and learn. The shelter’s the students use as dorms are extremely fascinating and so is the walk into the desert. I can’t believe that students actually get used to sleeping out there. One day I hope to visit Taliesin Wisconsin where they spend the second half of their year at. Until you are able to attend a tour for yourself please enjoy some of the photos I took while we were on tour.


 This is the studio where the students spend most of their time at.
 These are the “dorms” the students actually use. My cousin confessed to us that the first week of school he actually slept in his car.


The school itself is beautiful and the students are amazing. The are a small amount of students that are accepted into this school every year that get to experience something that they would not be able to do so on other campus. Unfortunately this school might lose its accreditation and it might not be around for future architects to enjoy. Please take the time to watch this video and help SAVE TALIESIN. My cousin’s friend, Pablo created it in an effort to inform the public of what’s actually going on there in regards to their accreditation.
If you want to help out by donating to this cause please click HERE!
Photography: Dream Boat (Wordless Wednesday)
California, Life, Orange County, Photography, Southern California, Wordless Wednesday
