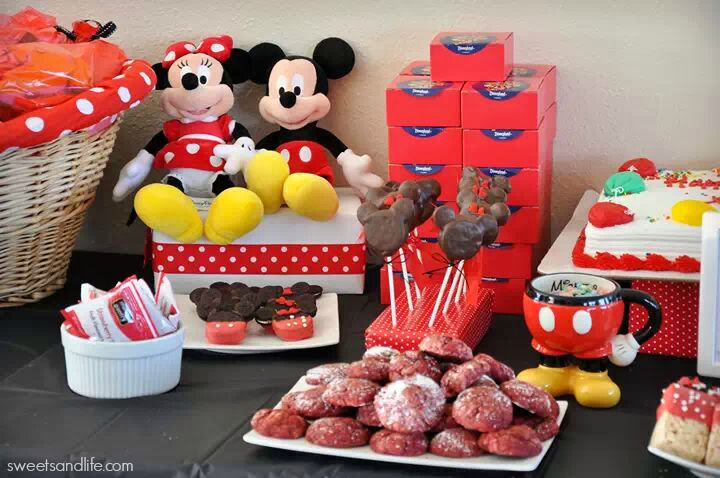
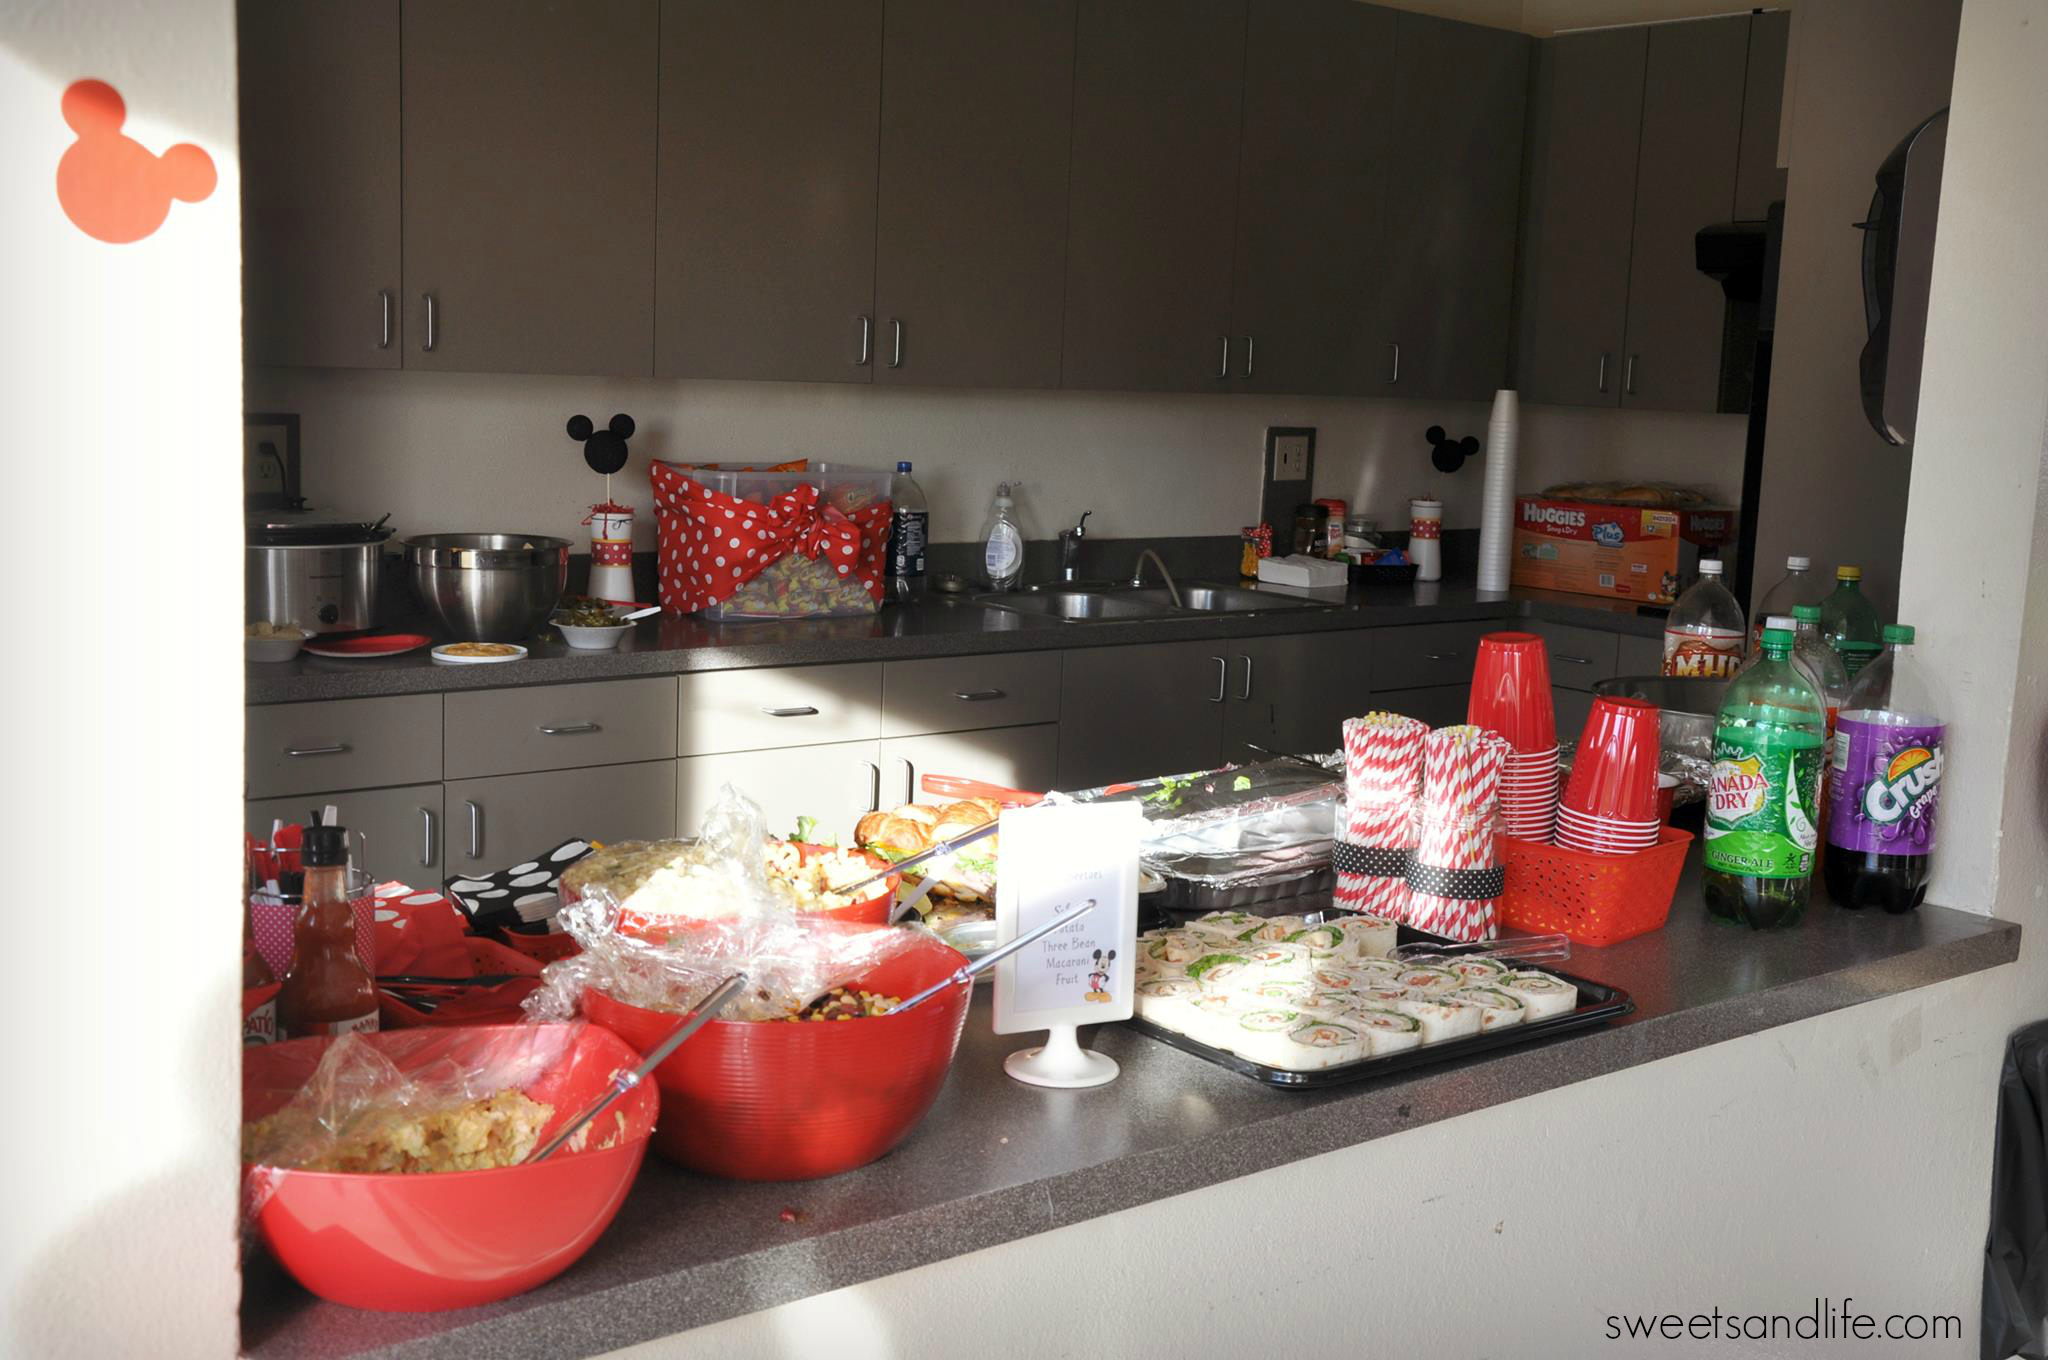
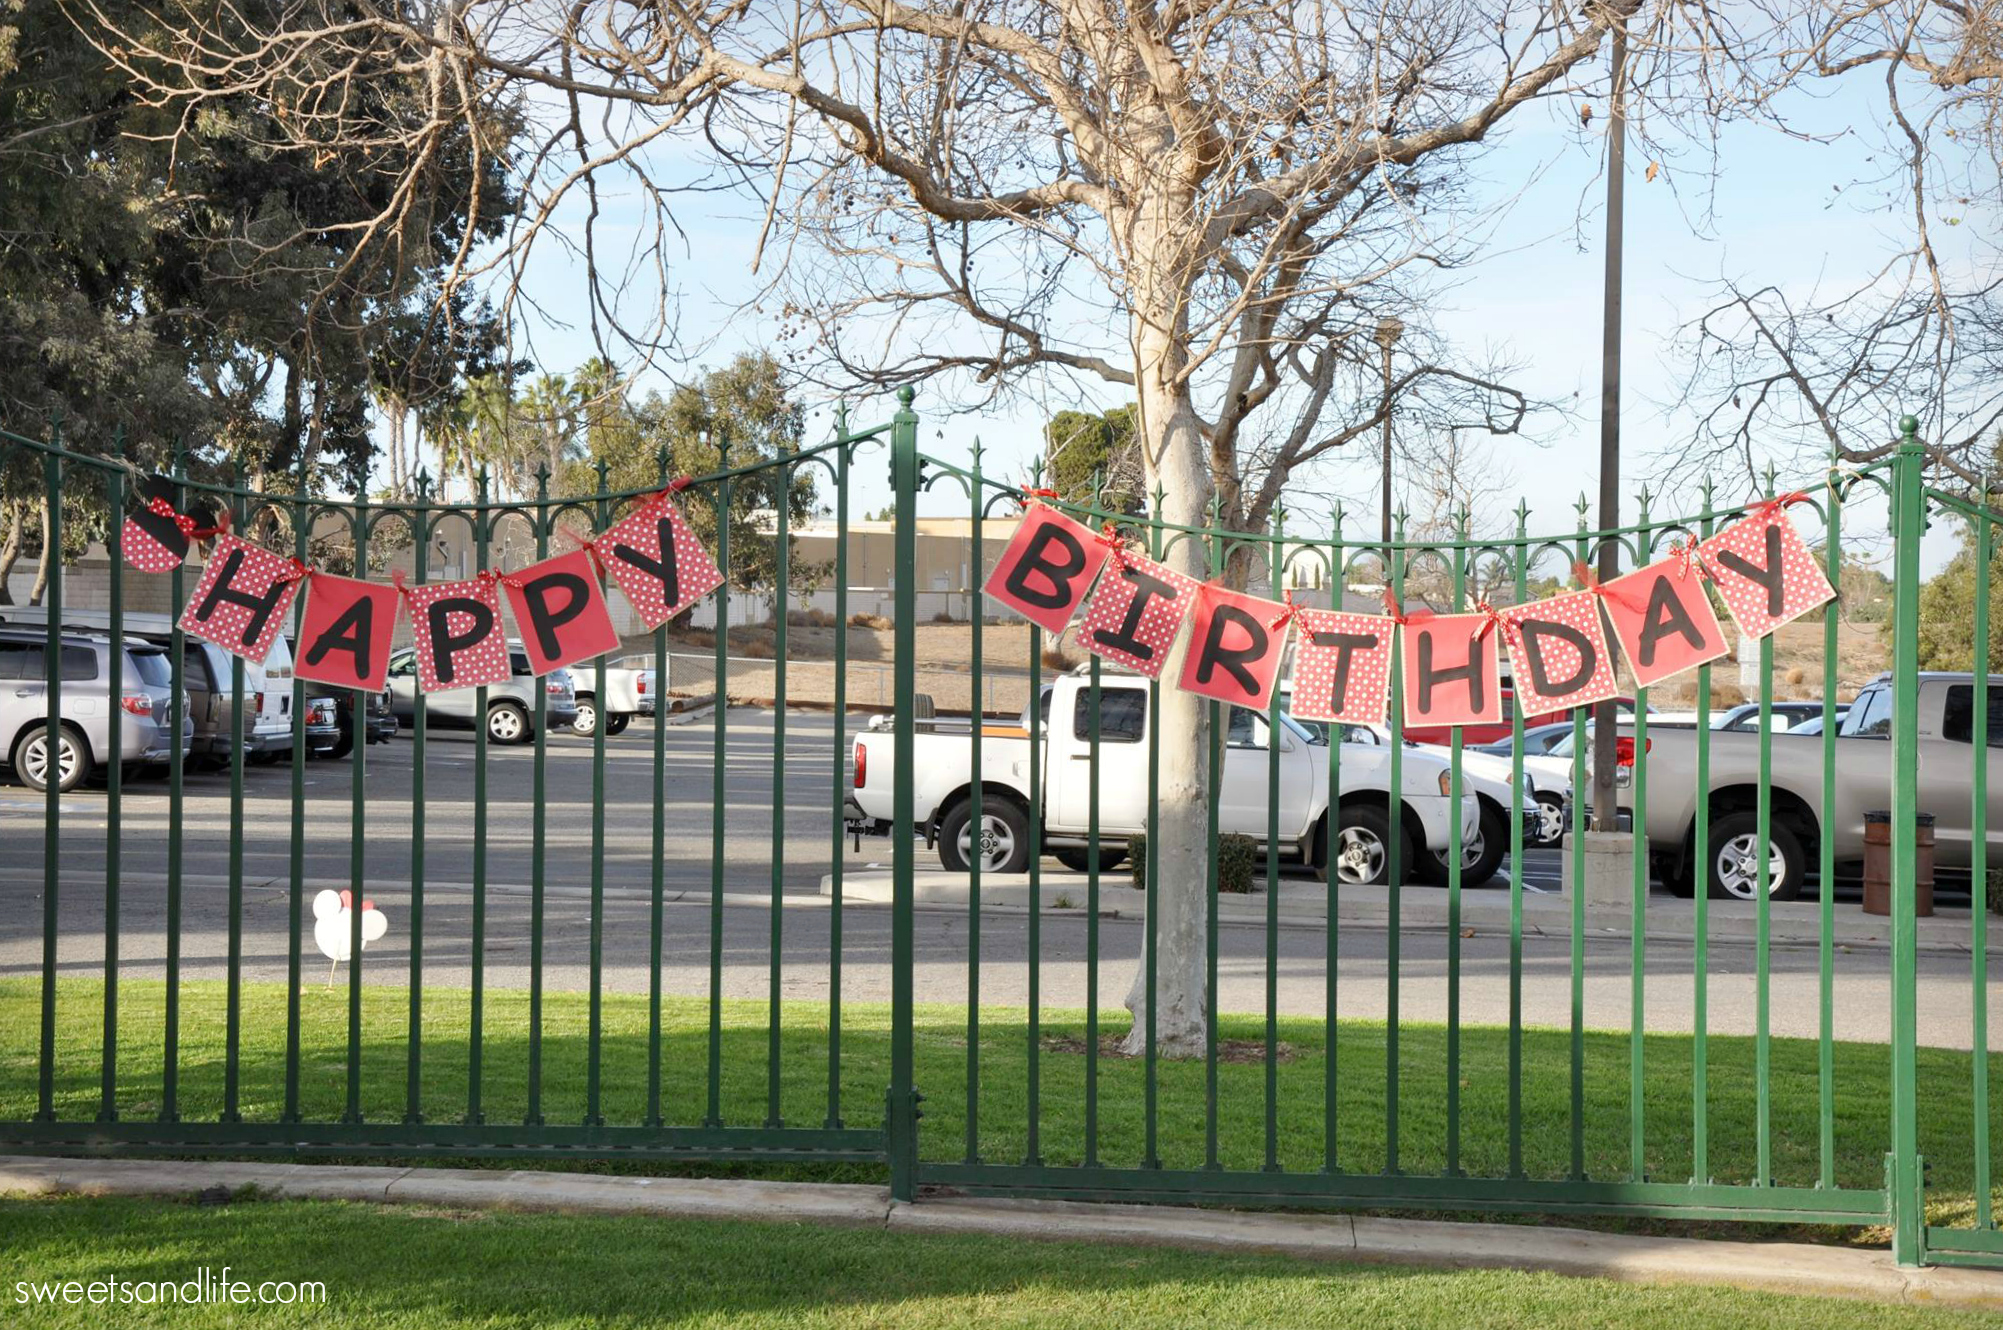
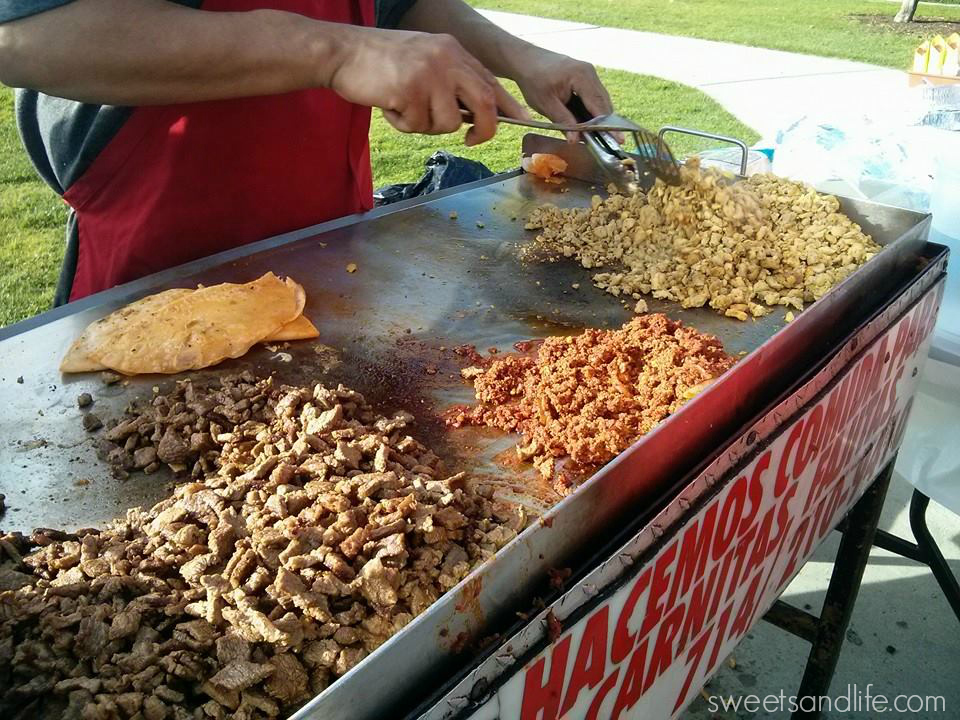
Looking back at this past weekend I realized that I never did a recap of my daughter’s 1st birthday party. I planned tirelessly for several weeks without realizing that the week before the party I was going to get a terrible cold. The day of the party everything that could go wrong did for but nonetheless we had a blast. Hardly anyone knew that I was involved in a hit-and-run accident on my way to the venue. My original cake that I stayed up all night working on along with 60% of my desserts were ruined as a result of the accident. My little Buttercup refused to take a nap that day and was super fuzzy. About 10% of the desserts that made it through the accident began to melt. Would I change things about that party? Absolutely. Would it really matter to anyone but me? Probably not. Like I previously mentioned here the day of the party is dedicated to fun. I had a blast watching everyone put on their Mickey & Minnie ears, playing carnival games, and mostly I enjoyed celebrating with those I love. Without further ado here’s a little glimpse at the party we thew my little Buttercup last year.


Invitations: DIY
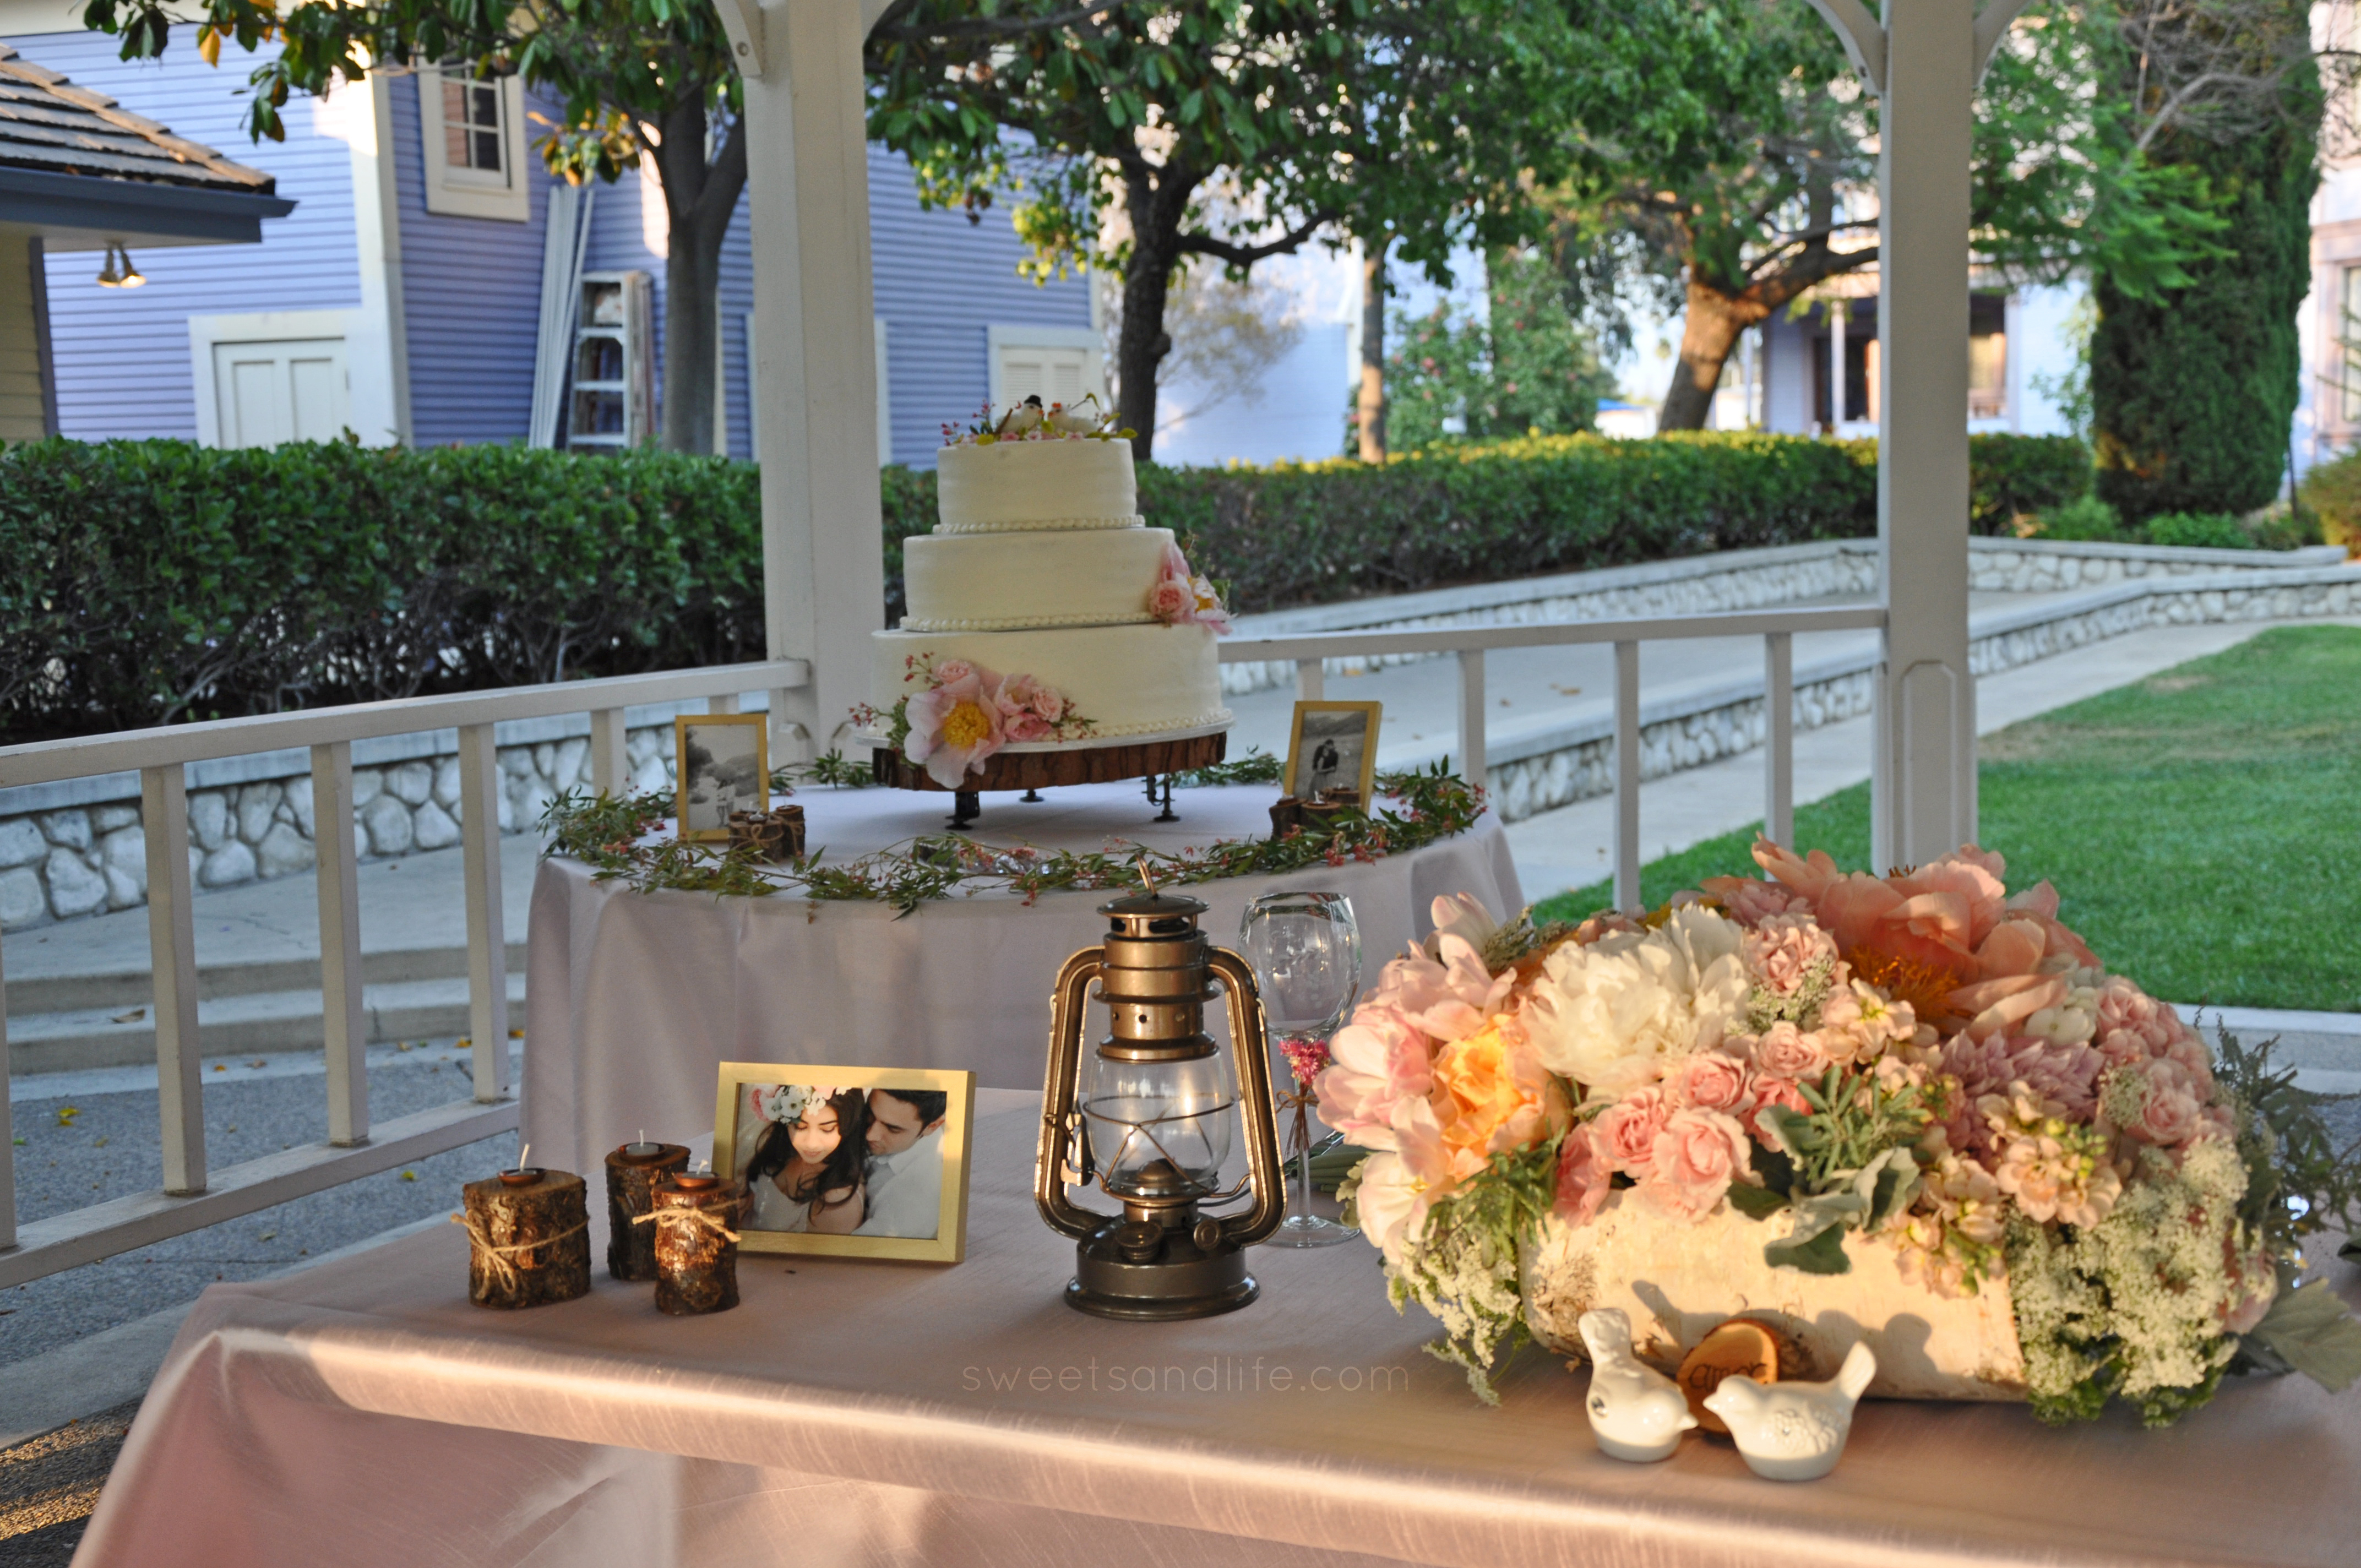
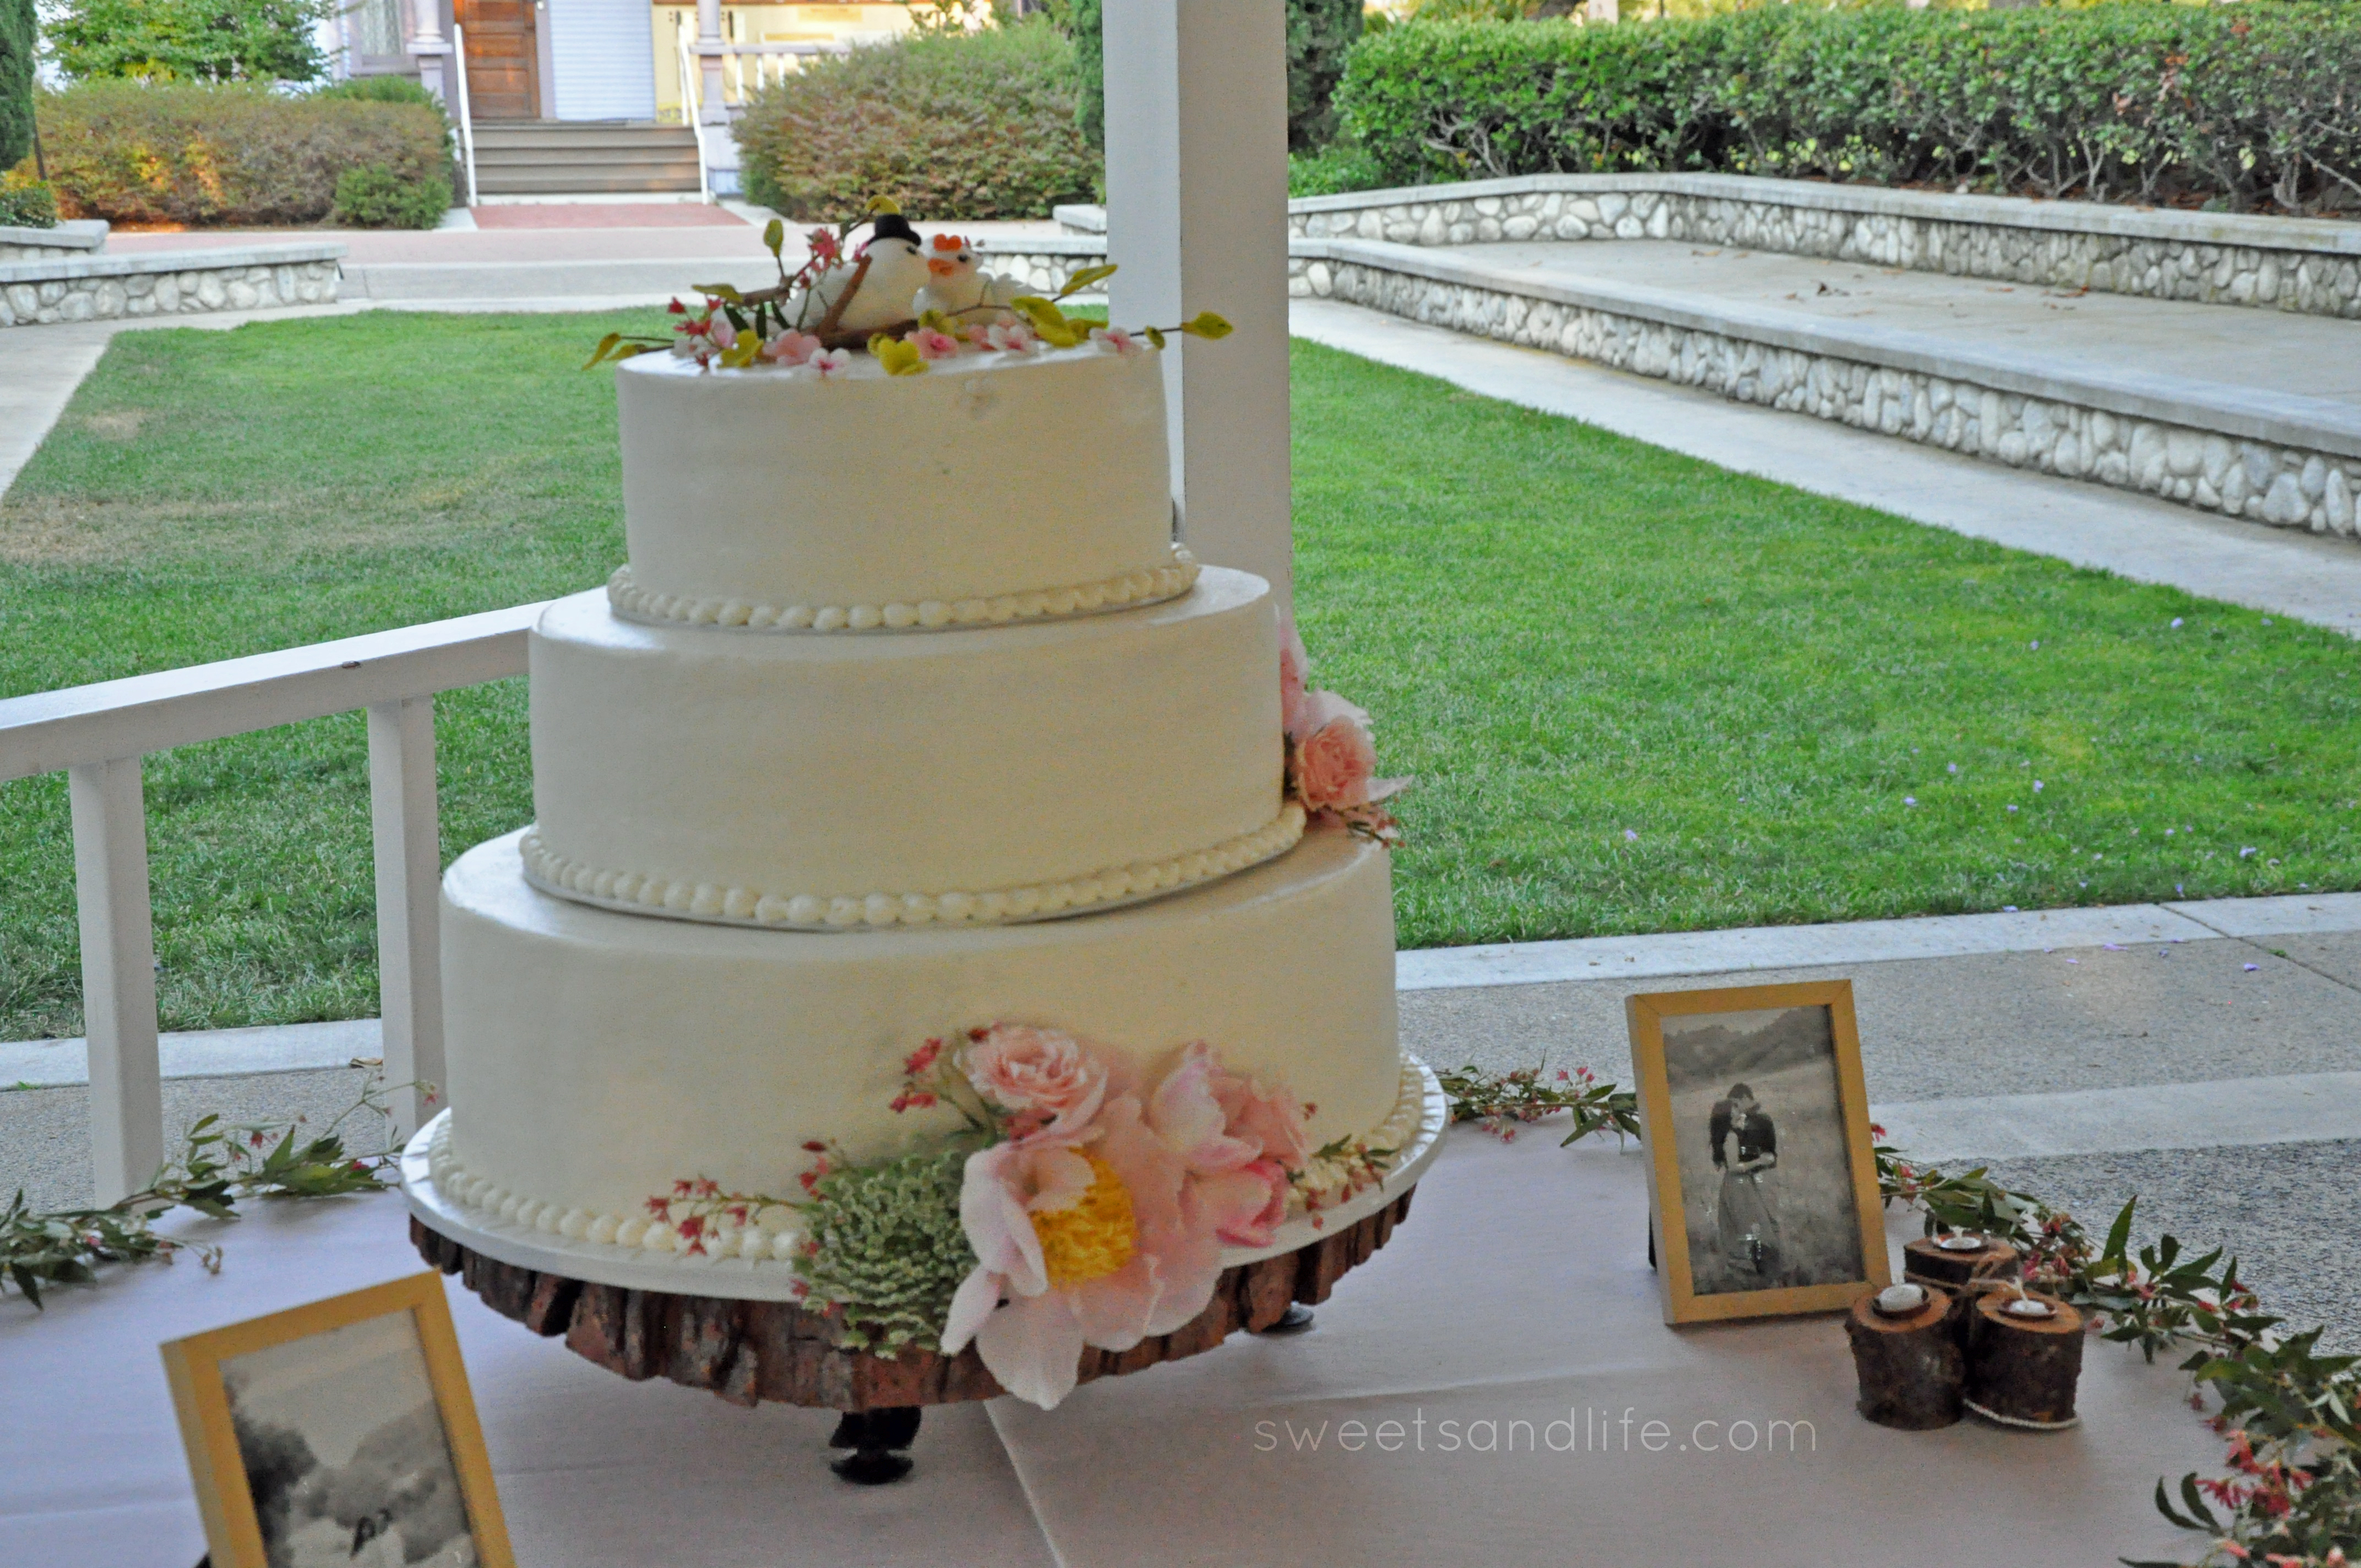
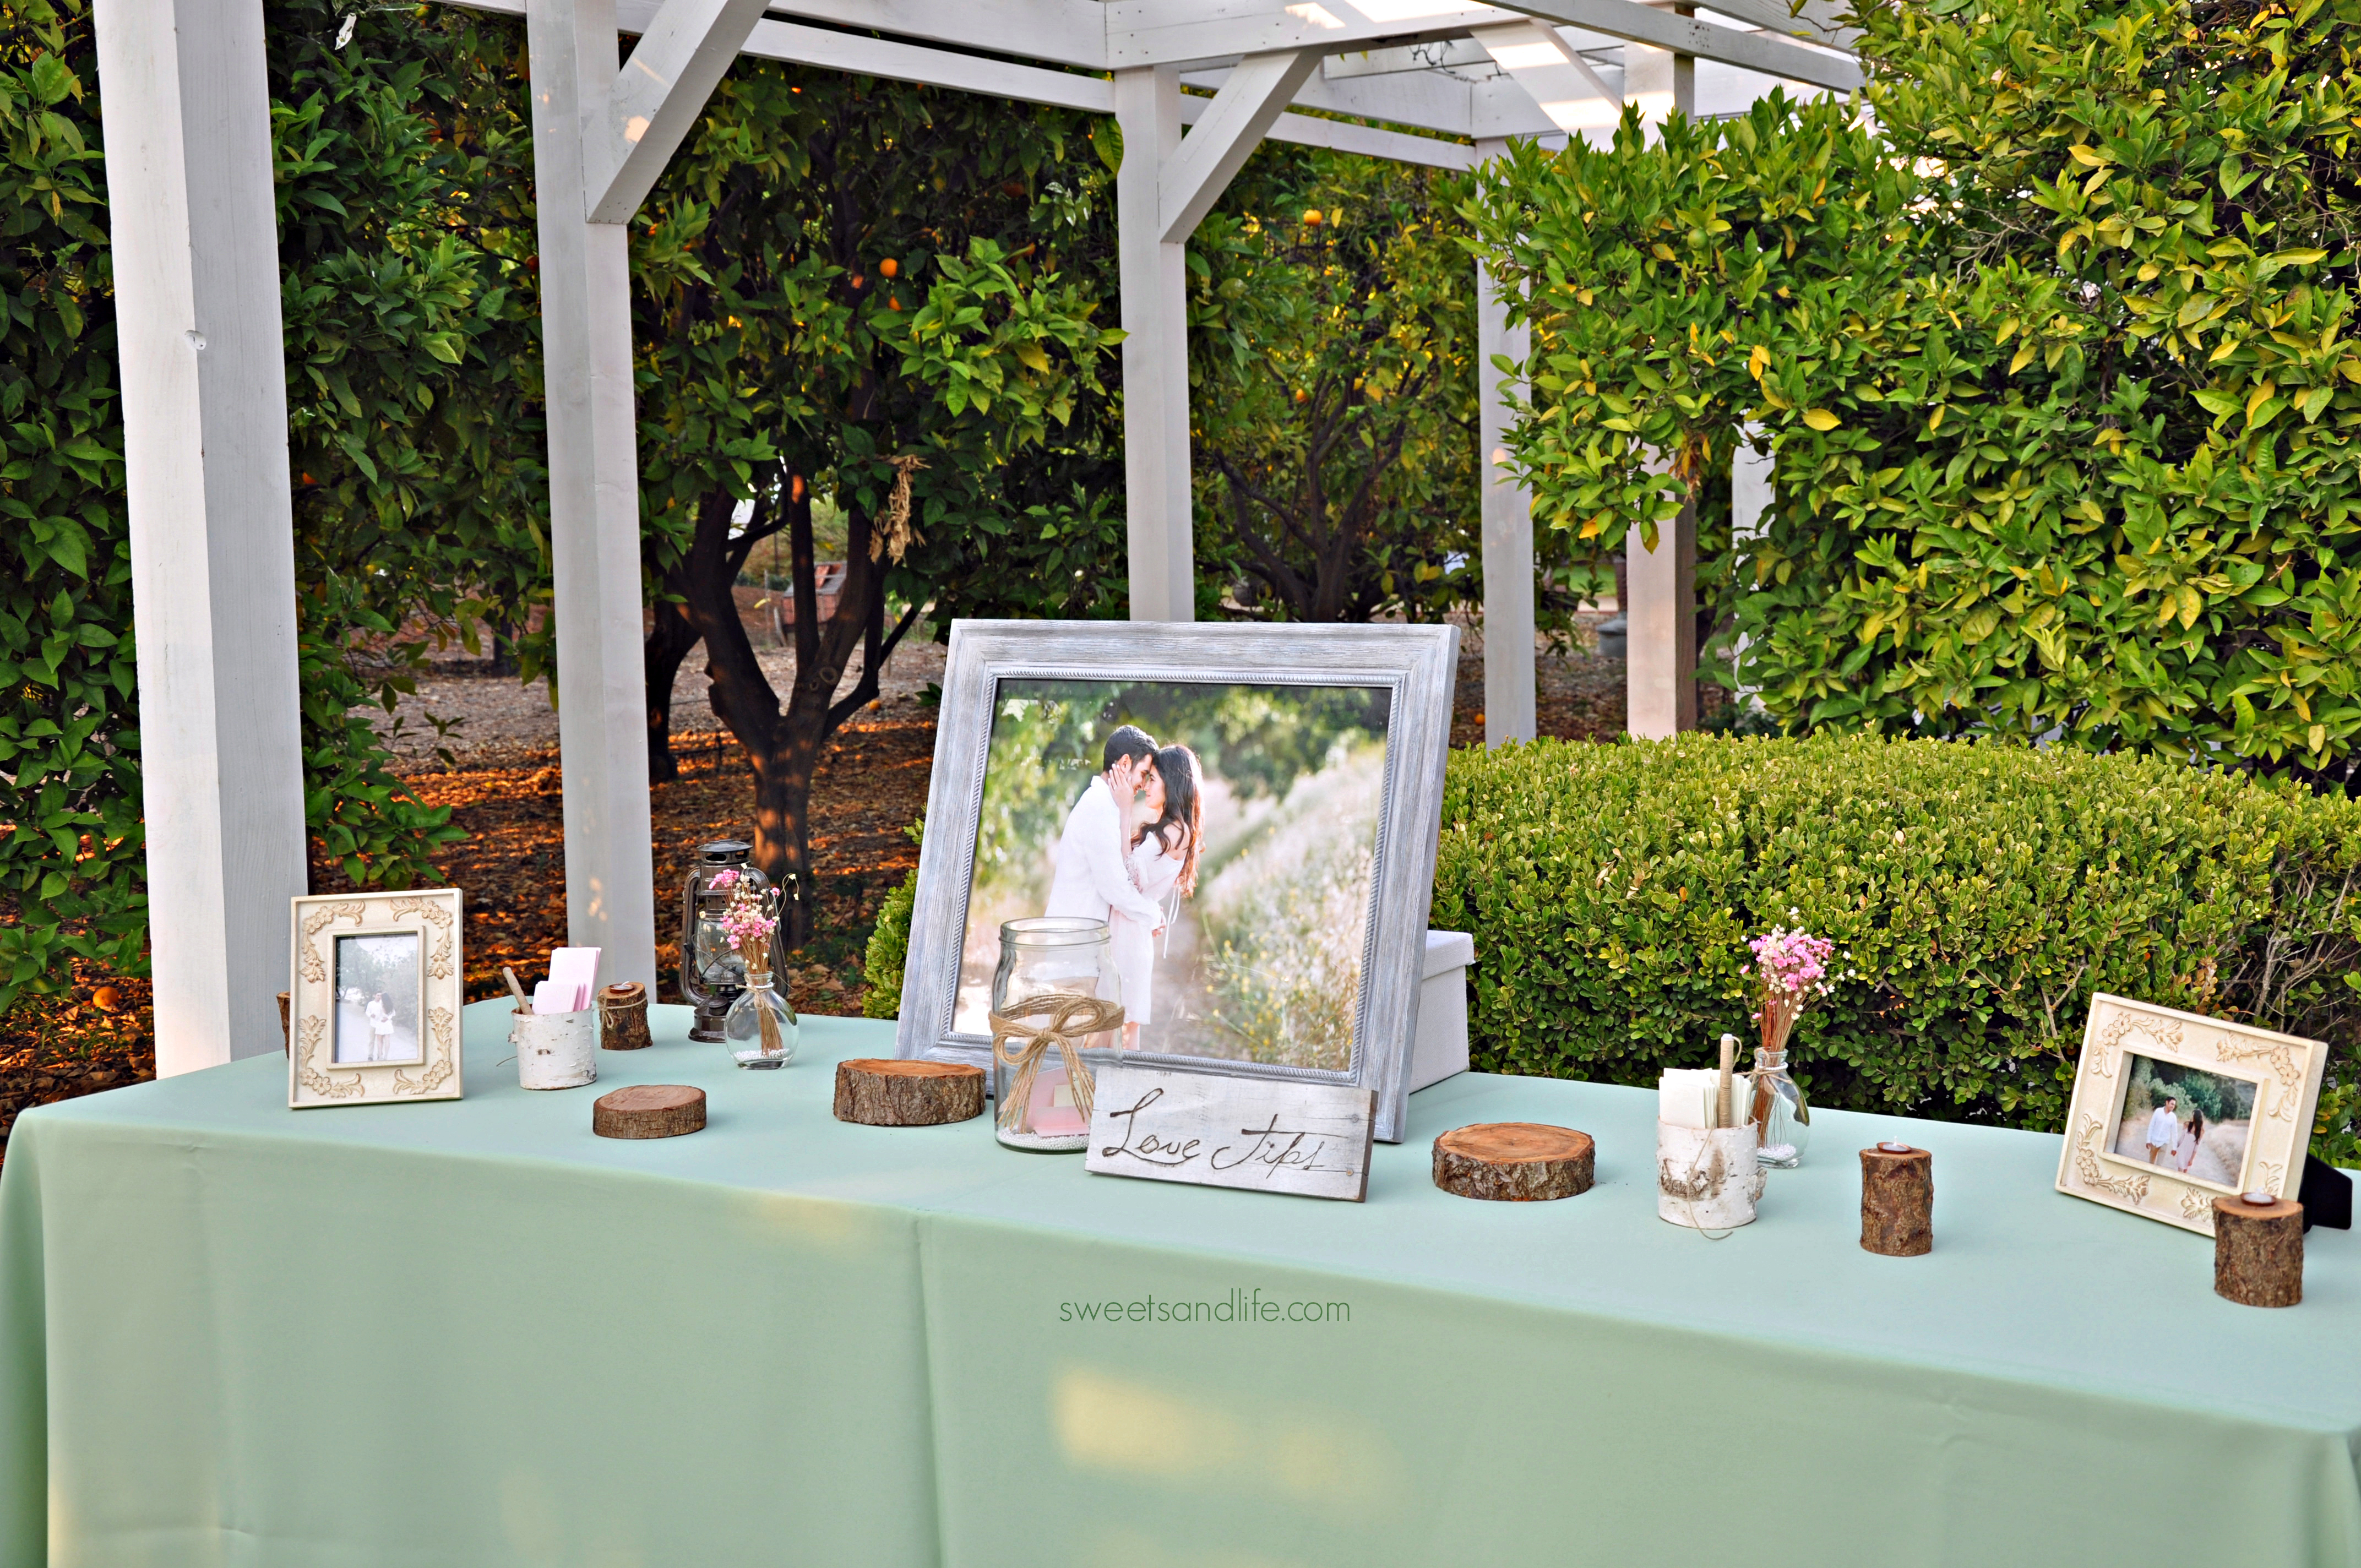
Venue: Newland Barn
Pinata and toys: Los Angeles Toy District
Taquero: Water store on Dale St. and Chapman in Garden Grove, CA
Food and drinks: Costco
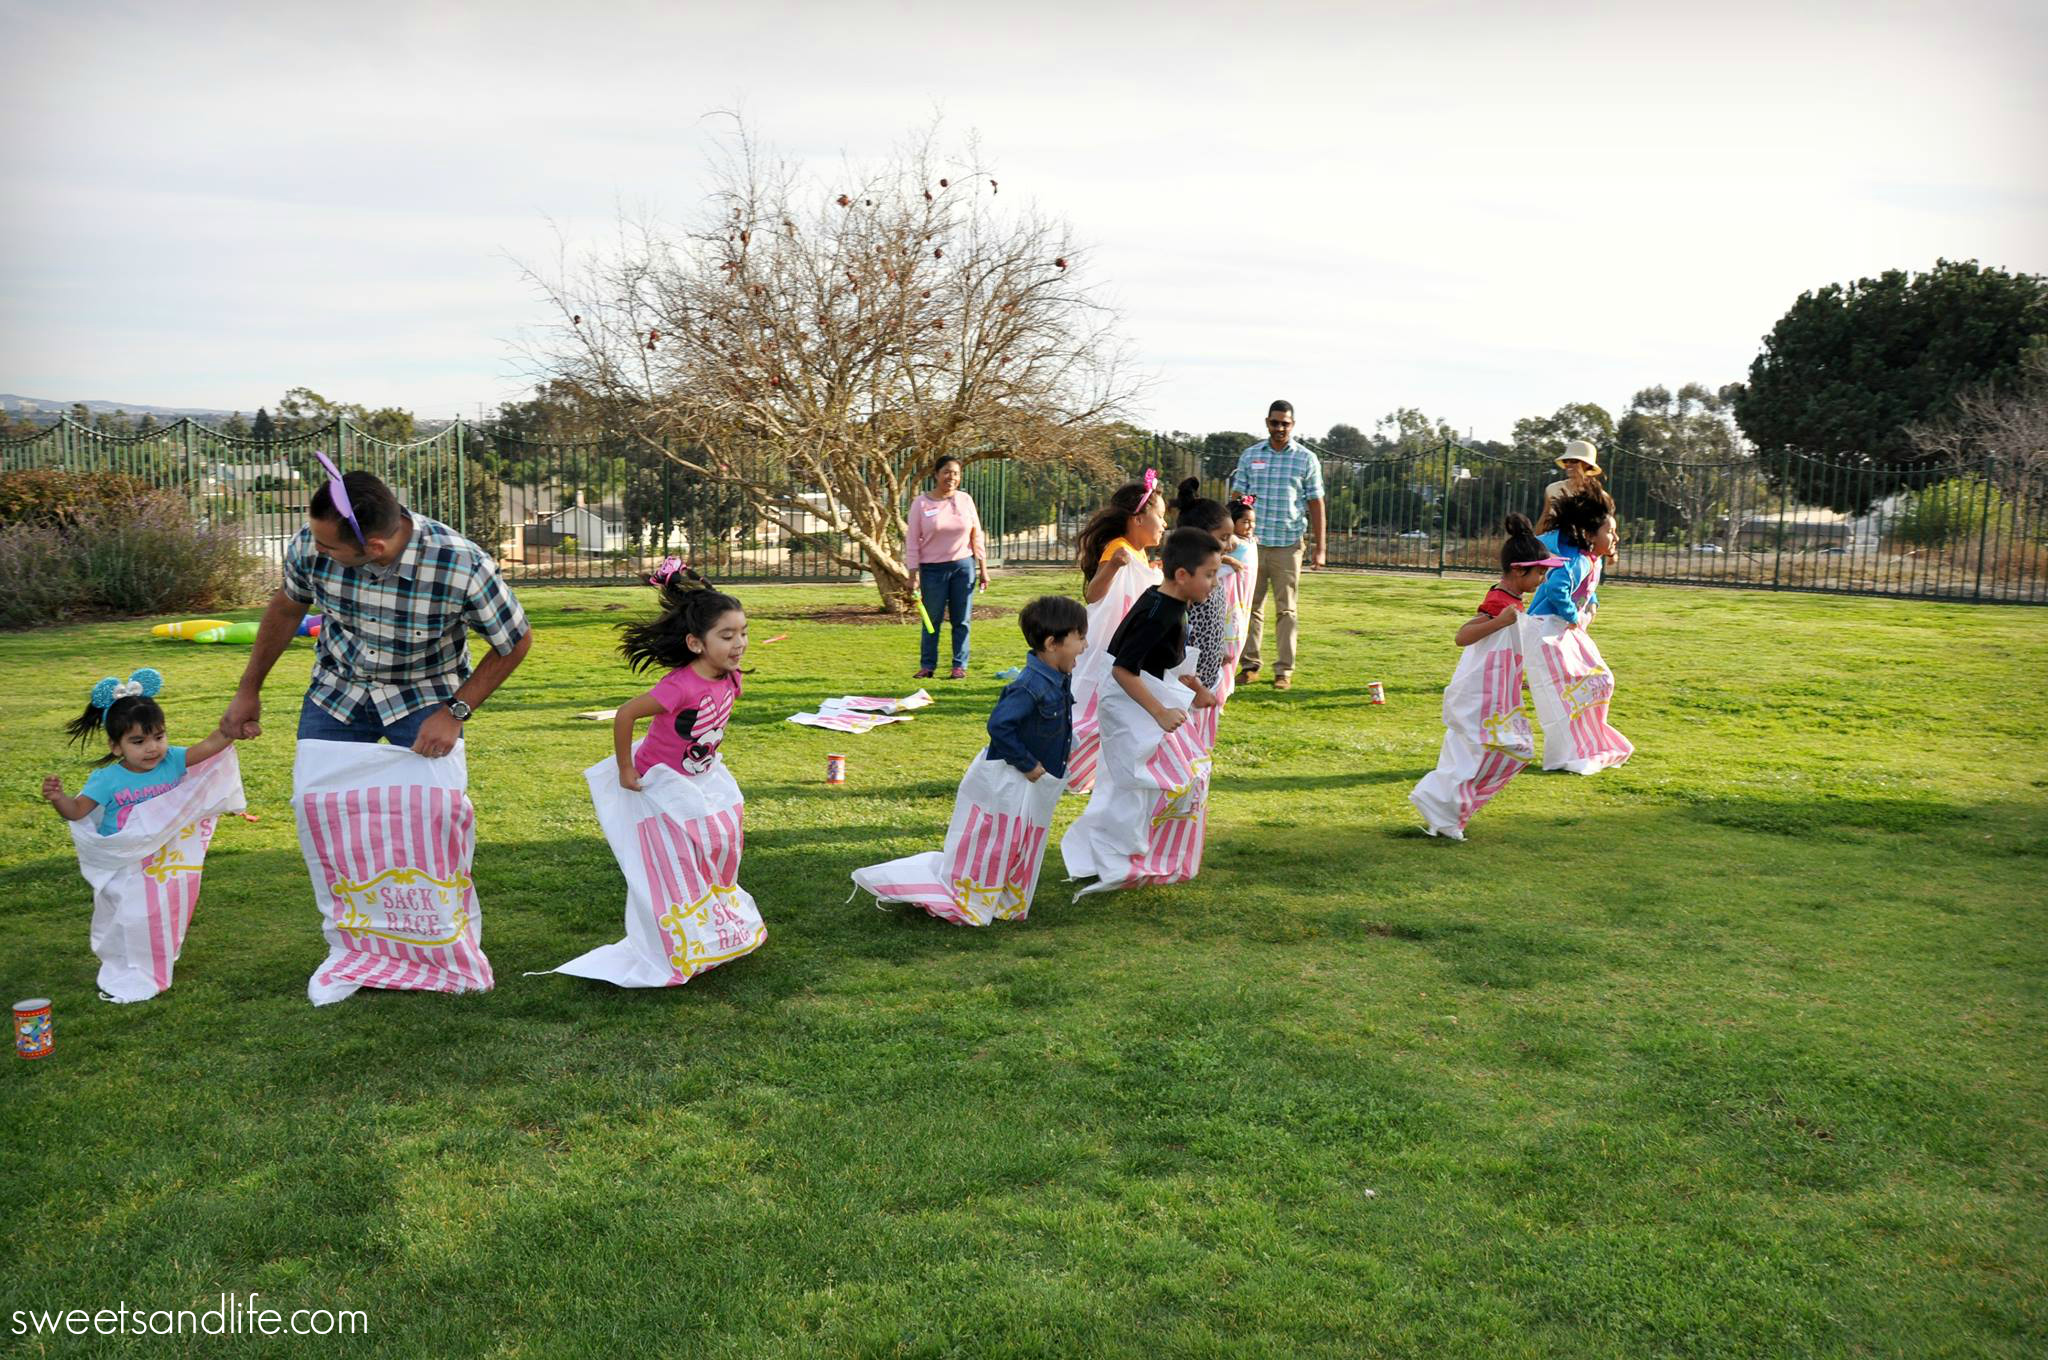
Carnival Games: Amazon
Well there you have it folks bits and pieces of the party we thew my little Buttercup. Will she remember it? No, but will I tell her how much I loved planning it. On another note I really need to start taking more photos of all the DIY things I do.
Please refer to my two Pinterest board for more inspiration. HERE and HERE
Please stay tune in the following weeks for a re-cap of this year’s Frozen extravaganza.
Check out my Pinterest board for my little Buttercup’s 2nd birthday party HERE.
.